


How to Creat a Shipping Label for Your Business
|
|
Time to read 5 min


|
|
Time to read 5 min
One of the trickiest parts of fulfilling orders is ensuring everything goes smoothly: there are no delays, wrong deliveries, or lost packages.To avoid all these inconveniences, most companies print shipping labels on their packages.
However, most small ecommerce businesses don't label their packages.This is because shipping labels are expensive and time consuming, having to wait in long lines at the carrier's office to ship packages.
If you're an e-commerce entrepreneur dealing with this, worry no more! With the help of Betckey Premium labels, we'll guide you on how to make a shipping label for your business right from your place at a very affordable price.
Table of Content
A shipping label displays crucial information about packages' destinations( including international shipments) to the carrier during transportation.
Some of this Important information on a shipping label includes; sender and recipient Info, destination address, package details, tracking number, shipping method ( standard, expedited, etc.), and more.
A shipping label is important because it prevents packages from being delayed, delivered to the wrong address, or lost altogether. Any of these issues could cause financial loss or negative customer reviews, damaging your business reputation.
Now that we know what a shipping label is and why it is essential for your business, here's a step-by-step guide on how to make one.
Step#1 Choose a shipping label software
First, you need to choose the shipping label software online. There are many options available, so you can choose the one that suits you. Some of the most common include:
All these shipping label software solutions are easy to connect with your e-commerce software platform. The only difference is some follow a pay-as-you-go model, ideal for small-to-medium-volume sellers, while others charge a monthly fee, suitable for high-volume e-commerce sellers.
Once you've picked your preferred shipping label software, the next step is to fill in the details for your package on the label. Different carriers might have slightly different content info, but most will need these key pieces of information:
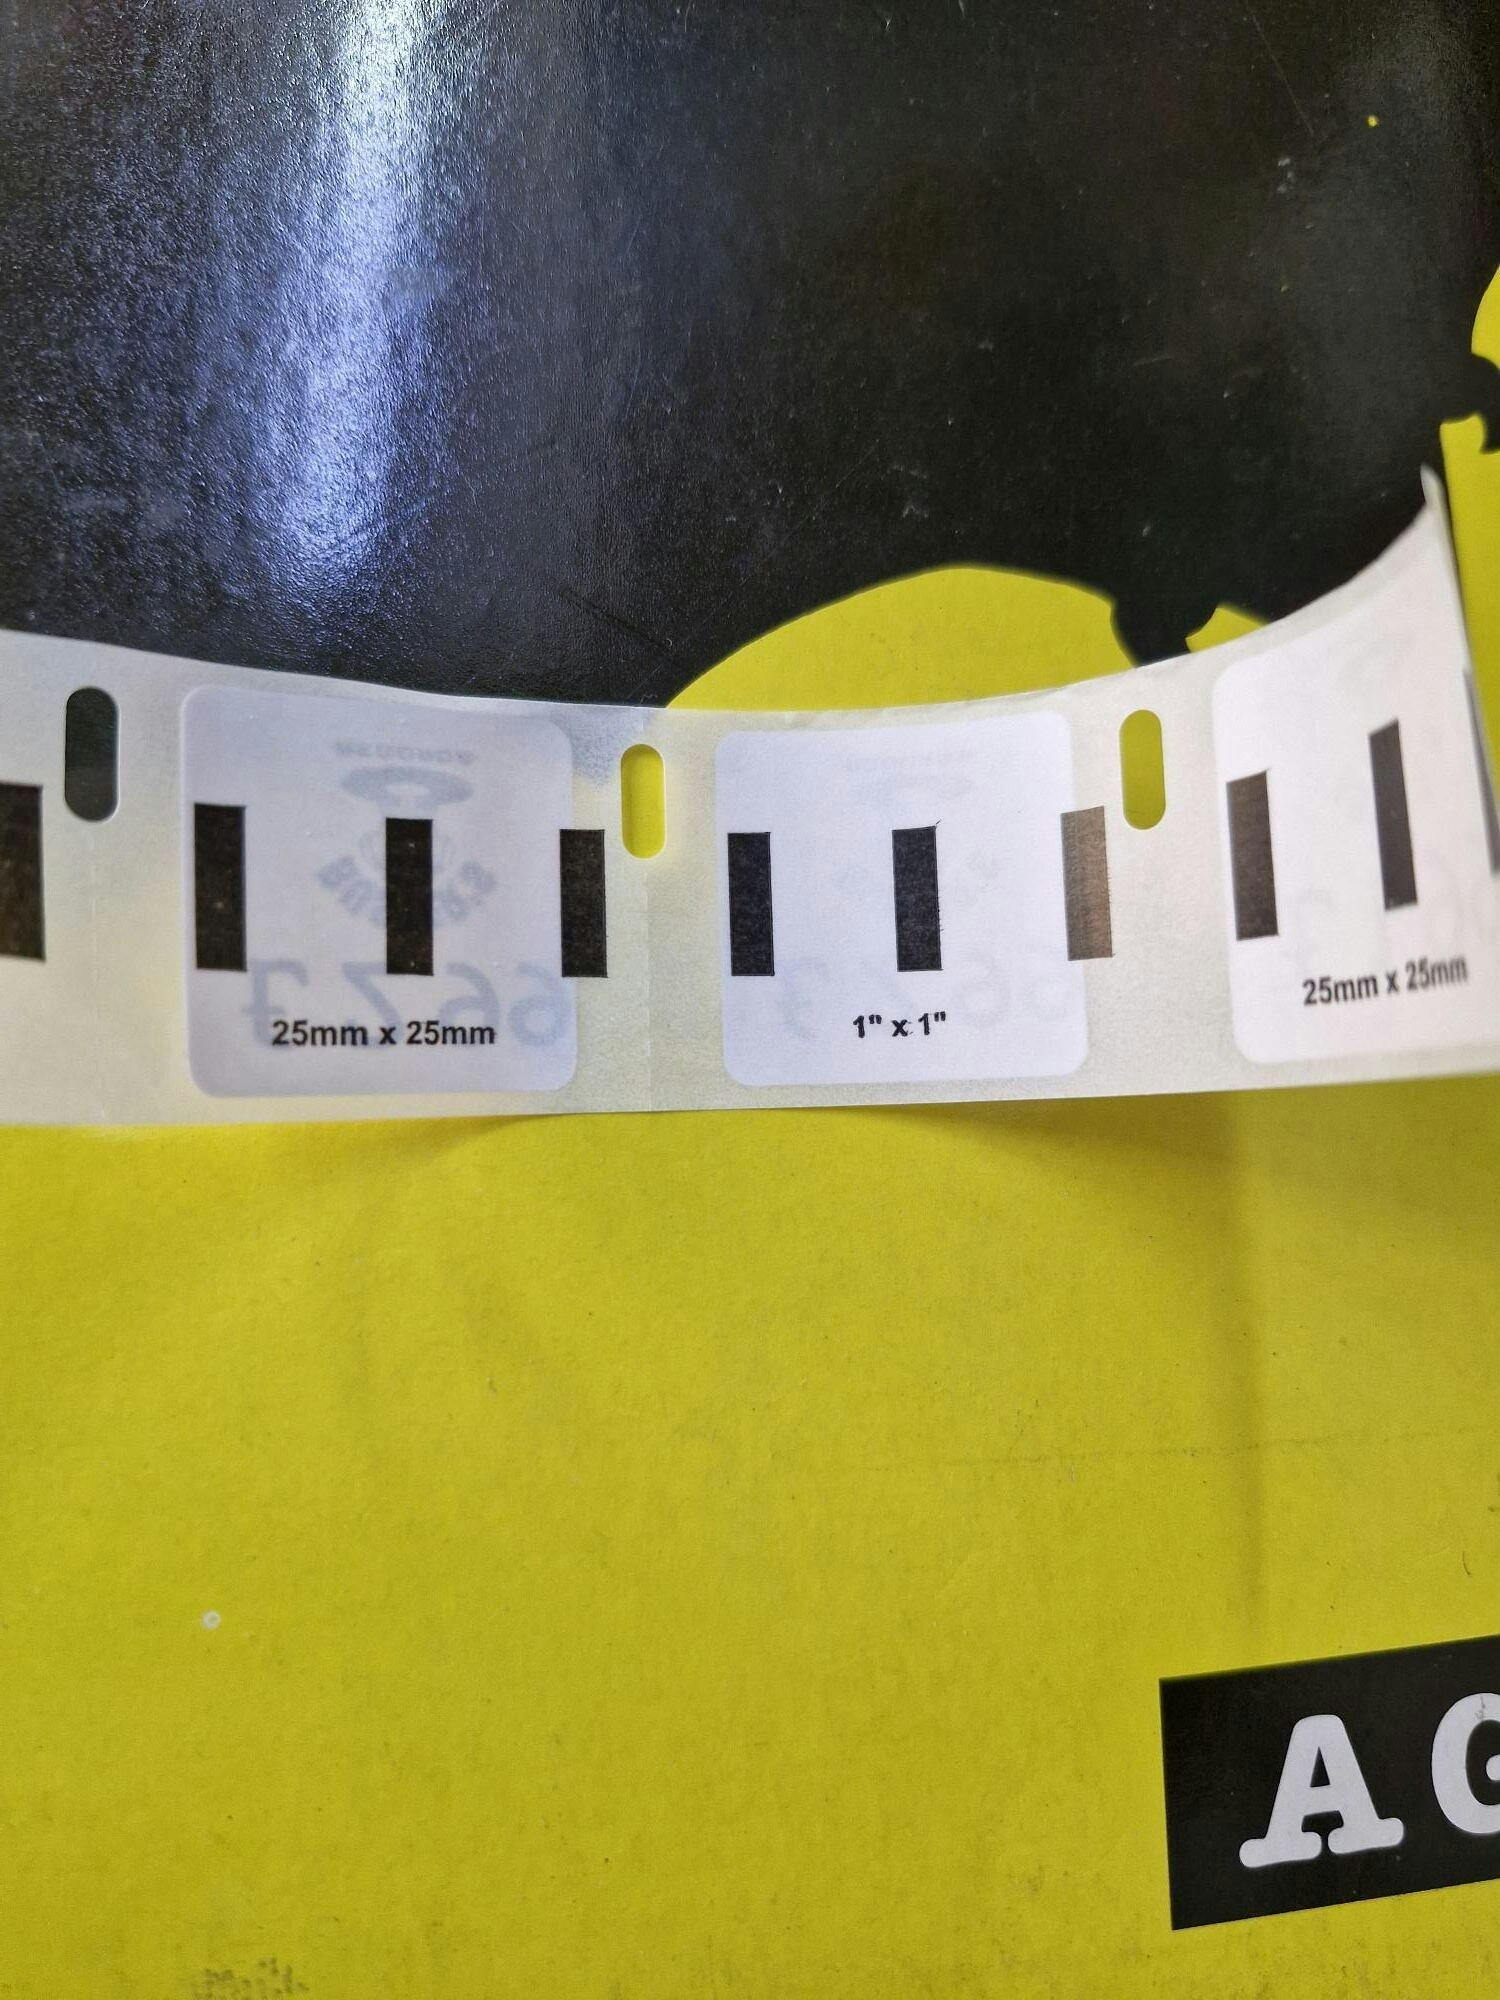
Once you've filled in all the details about your package, you can print your shipping label using Betckey Labels. They come in different shapes and sizes, both standard and customizable, to suit all kinds of packages.
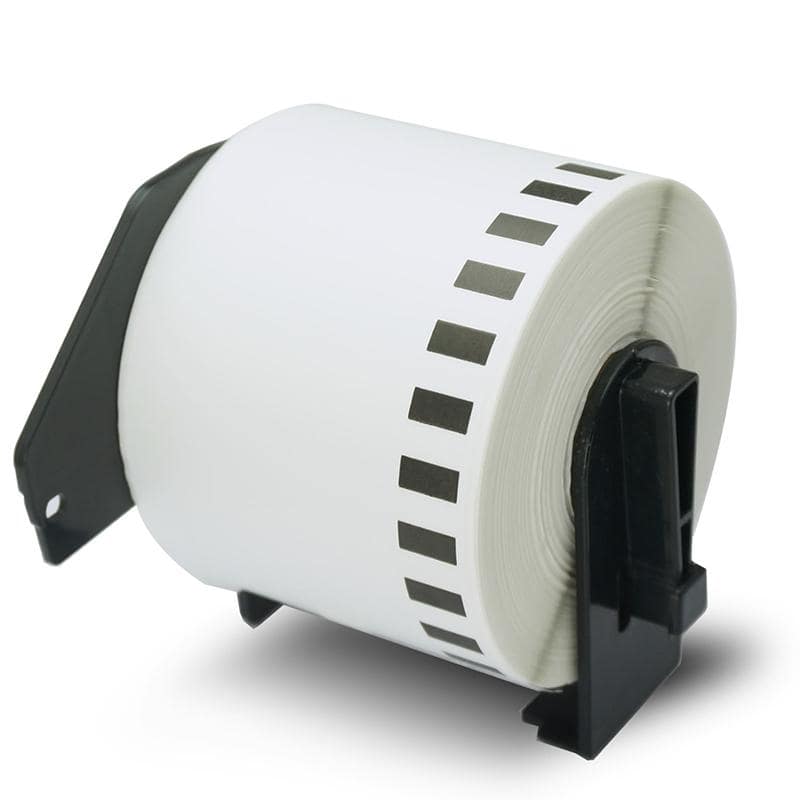
You can then print your shipping labels using any major printer models like Brother, Dymo, and Zebra, and produce quality shipping labels. This is because Betckey Premium Labels are compatible with various printer models.
N/B: Before printing, ensure your label's barcode can be scanned. Even if all the information is correct, your package will be in trouble if it can't be checked.
Here are two tips to keep your label scannable:
USPS is budget-friendly and suitable for e-commerce businesses of all sizes. Here's how it works!
To make a USPS Shipping label, sign up for a service. You can do this through the https://www.usps.com/business/USPS website.
Once you create a USPS account, enter the information you need to create your USPS shipping label. Some of the information required include:sender and recipient details, package details, service and mailpiece type and more.
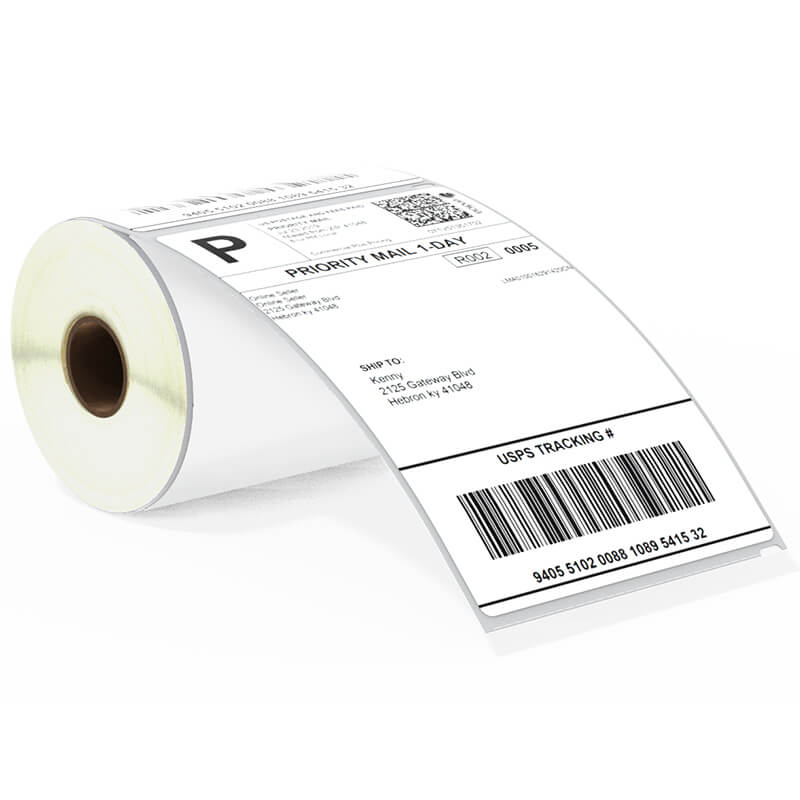
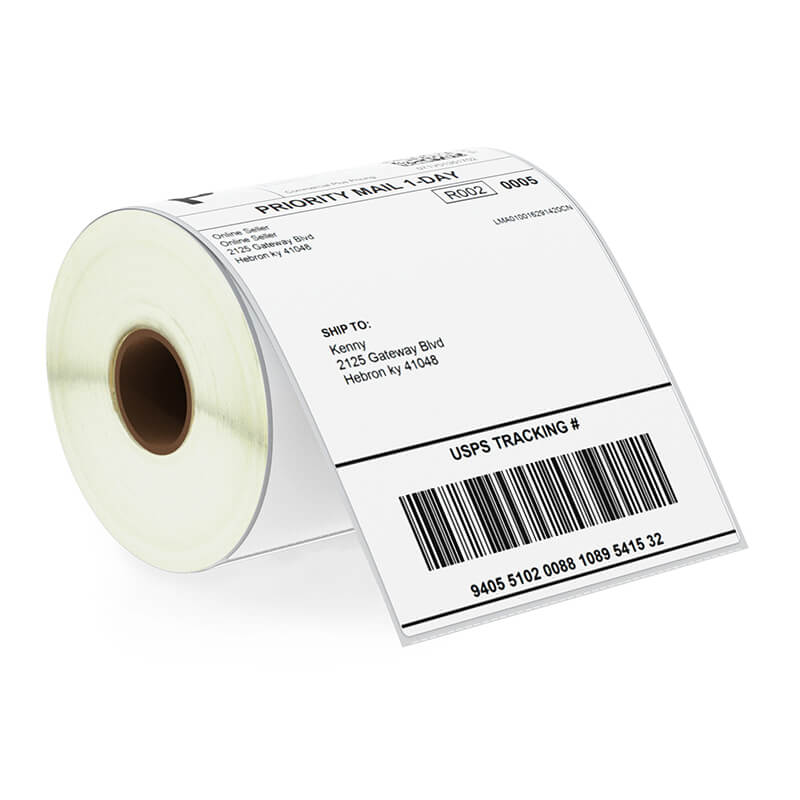
The USPS prefers labels size 4x6 inches; however, since not all packages are the same size, there are different label sizes available at Betckey Premium Labels.
You can print these labels on a standard sheet of paper. The extra white space can be used to add a personalized message, but it must not interfere with the label image.
Making a UPS label is just like creating a USPS label! Simply follow the steps shown in the photo below.
Here's how it works!
Log in to the UPS website and open the shipping label section. Then, create a single label for your product.
Fill in the correct package information as directed e.g. sender and receipt details, package detail and others.
Click on "Choose a Service" to see all available UPS services. From there, select the UPS service you want to use.
After putting your label on your package, you can print your label but before that you first need to scan it. This will help track its progress on your ship page through the UPS tracking portal using your tracking number.
When it comes to whether shipping labels expire, the answer isn't straightforward. It depends on which shipping company you use and the type of service you select. Here are the expiration policies for shipping labels from some major shipping companies.
UPS shipping labels usually last for 90 days after they are created. While UPS is generally flexible and might give a little extra time about 1-2 days past the 90 days, this also depends on the specific UPS location.
USPS shipping labels usually last 28 days from the time they are created. However, there is always an extra two to three days after expiration. But remember, not all post offices do this, so it's not guaranteed.
A FedEx shipping label lasts two years from the date it was created. But once you print it, it's only good for two weeks.
Finding out that a shipping label has expired can be annoying, but there are simple ways to fix it:
By following these step-by-step guides, you can create a high quality shipping label right at your place using Betckey Premium Labels.They come in different sizes, including standard and customizable options, to fit packages of all shapes and sizes. Contact us NOW for your hassle-free shipping label solutions.By following these step-by-step guides, you can create a high quality shipping label right at your place using Betckey Premium Labels.They come in different sizes, including standard and customizable options, to fit packages of all shapes and sizes. Contact us NOW for your hassle-free shipping label solutions.
Products Featured In This Blog
Always consistent quality with these labels and with Betckey in general. Fast shipping; great prices when ordering in bulk and lots of choices for different colors in addition to the white ones.
These labels are every bit as good as the (Preferred) brand, at a lot less of a price.
Excellent service. I am very happy with the product. Recceived the labels next business day.
First time using a thermal printer and was amazed at how easy this was to set up. Very compact and print quality is great. Printer was shipped out very quickly and arrived in two days of ordering. This company seems to go the extra mile to satisfy their customers.
The value for money on these is insane. 100% recommended
I've been purchasing these for years - over a decade, I think - and each and every time I make a purchase, I remind myself to do a review this time. THIS is the time! They are absolutely perfect. They fit and perform in my DYMO 4XL LabelWriter exactly as they are supposed to. They have the exact right amount of adhesion. I couldn't be more happy with these tiny labels!
They work as promised! Sticky labels! Will purchase again. Descent price!