How to Create USPS and UPS Shipping Labels for Your Business
|
|
Time to read 7 min


|
|
Time to read 7 min
Experts predict that 2.71 billion people worldwide will shop online from 12-24 million online stores this year (2024).
Now imagine the results of all that online shopping being packaged up, labeled, and sent to thousands of locations.
An often neglected part of this process is ensuring parcels are labeled well and correctly.
In other words, using durable, high-quality shipping labels that arrive at their intended destination without coming off, being smudged, torn, and so on.
It doesn’t matter whether you’re a small or enterprise-level eCommerce business; understanding how to create the best possible shipping labels for your packages is essential.
Let’s take a look:
Table of Content
How to Make a Shipping Label
Before we get into the details, let's ensure we’re all on the same page about what a shipping label actually is:
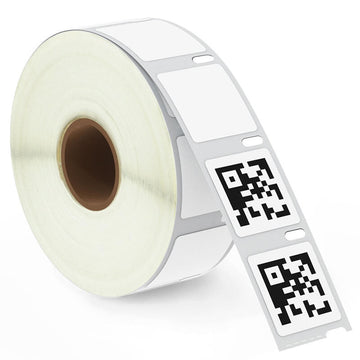
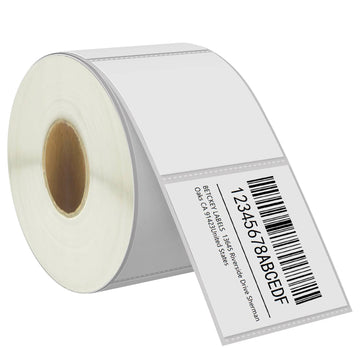
In short, a shipping label is how a parcel is identified. Think of it as your package’s ID or passport. I.e., it provides your shipping carrier with all the information they need to get the parcel to its final destination; this includes:
Pro Tip: Use the above as a checklist to double-check you've added all the information you need to ensure parcels reach your customers!
If all or some of the information listed above is omitted or incorrect, the results could be:
Now you have a clearer understanding of what a shipping label is and why it’s essential, here's our step-by-step guide to creating high-quality shipping labels.
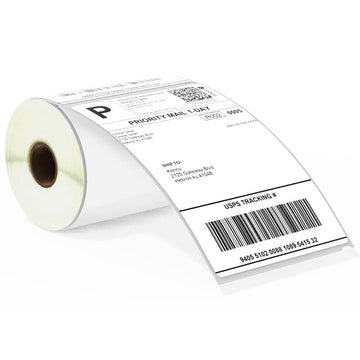
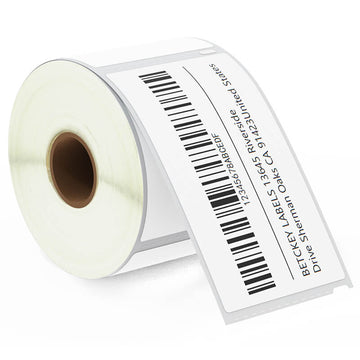
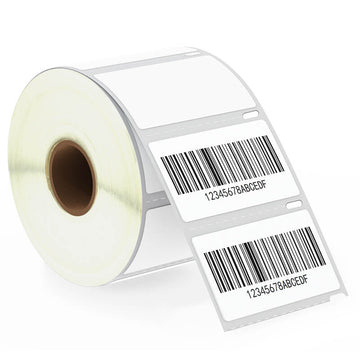
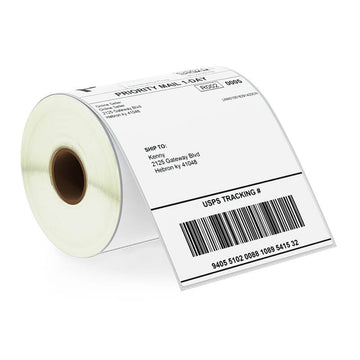
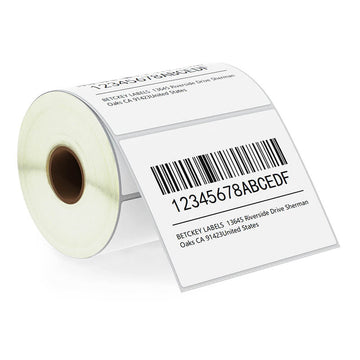
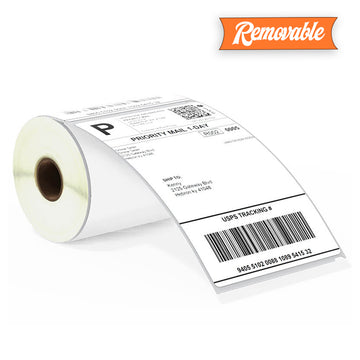
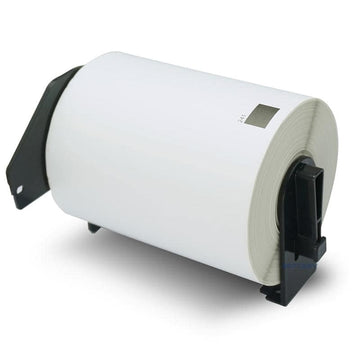
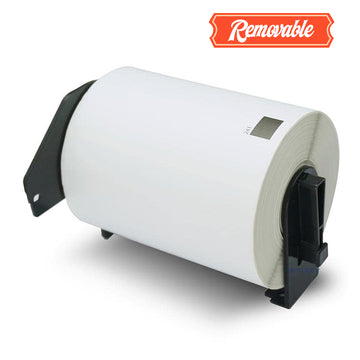
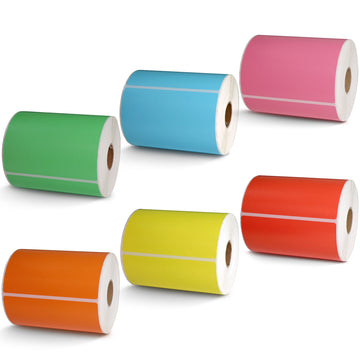
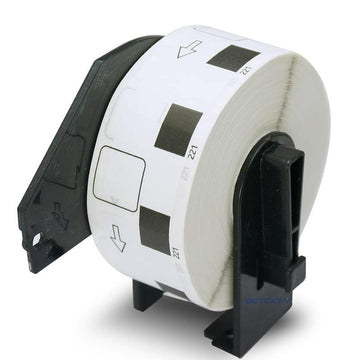
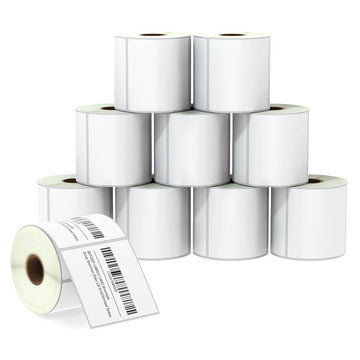
At this point, it’s worth noting that Betckey shipping labels come in standard and customizable dimensions to fit packages of all shapes and sizes. They're also compatible with well-known printer models, including Brother, Dymo, and Zebra, so you can confidently and easily print your labels.
Recent statistics show that in 2022, the USPS delivered to 152.2 million residential addresses. So, if you’re considering using USPS to deliver to your customers, here’s our step-by-step guide on how to use the USPS's Click and Ship service.
Head to Click-N-Ship to sign in to your USPS account. Or register for an account for free. Doing this allows you to:
When setting up an account, you'll be prompted to do the following:

Click Edit to fill in the return address.
In More Actions, you can select whether to send you tracking notifications.

Fill in the address you are going to send to.
Check the Batch Order box if you are sending identical items to different places.

Under More Actions, you can opt to send recipient an email notification once the shipping label is created.
If the recipient cannot receive the package at their address, you can select Hold for Pick Up at A Post Office so they can pick up the packages themselves.

Select the package is to be shipped, by flat rate, or by package weight.
· Ship Flat Rate: Sending by flat weight means to ship a package under 70 pounds to any state at the same price. This is usually used for shipping small and heavy items.
· Ship by Package Weight: Sending an item by how much the items weighs and where it is shipped to. This is more suitable to ship large and lightweight items.
Compare the price to decide which one to use.

If you choose ship by package weight, you need to weigh the item and measure the three dimensions of the item. Make sure the values are accurate.
For insurance reasons, fill in the value of your items at the Package Value box.
You can select Priority Mail or Priority Mail Express.
· Priority Mail: priority mail service is USPS standard delivery service, including 1-3 business delivery and flat rate pricing.
· Priority Mail Express: Priority Mail Express® service provides next-day to 2–day delivery service by 6 PM with a money–back guarantee and flat rate pricing.
 When you select the service, different options will appear for you to choose, as well as how long your package is going to be delivered and how much post you need to pay.

For insurance: The insurance is free, but it only covers up to 50 dollars. If you need more insurance, you need to buy the insurance.
For signature service: Signature service is a value-added service. The recipient need to receive the package in person, otherwise the courier will appoint another time to deliver the package. After one to three unsuccessful delivery attempts, the package will be held at the nearest post office for 15 days before being sent back to the sender. This service requires a small service fee and is suitable for high-value items.
 If you have several packages to deliver, choose Add to Cart & Start New Label. if you don’t need to generate new labels, choose Add to Cart.

After payment, you can print labels or save as PDF and print later.
Tip: if you don’t have a label printer, you can print the label at a post office near you. If you choose to print the label at a post office, an ID code will be sent to you for printing.

Now, here’s our step-by-step guide for creating a UPS shipping label for your business:
From the UPS homepage, click the Shipping tab, and then 'Create a shipment.'
You don't have to, but you can create a UPS account or log into your pre-existing account if you wish.
To do this, simply type in an email address and create a password or sign up using your Facebook, X, Apple, Amazon, or Gmail account.
When you create a UPS account, you can save addresses, track packages, and access UPS discounts.
However, if you prefer to avoid opening an account, you can create a shipment as a guest.

Add your details in the “Ship From” section (your return address)Then, enter your customer’s shipping address in the “Ship To” section.
Choose which package you’re using (e.g., letter, box, etc.). Then, enter the parcel dimensions (height, length, width), the parcel weight, and the parcel's value (optional).
There are a range of shipping options available. It’s essential to consider your budget and your desired delivery speed before deciding. UPS offers five categories of shipping:
Each of the above has its own sub-categories with estimated delivery times, etc., so it’s worth exploring these to ensure you find the best one for you and your customers.

Once you’ve completed the above steps, UPS displays a summary of your costs and shipment details for you to review and pay.

Finally, it's time to download and print your UPS shipping label. Remember to use a standard printer and high-quality adhesive paper so your label stays stuck!Finally, it's time to download and print your UPS shipping label. Remember to use a standard printer and high-quality adhesive paper so your label stays stuck!
The short answer to this question is, yes, shipping labels do expire. Let’s explore this further:
USPS: It's recommended that all Click-N-Ship labels be used within 28 days of creation. USPS also has refund guidelines should you decide not to use the label after generating it.
Labels from other carriers: UPS shipping labels are void if they're not used after 90 days, and UPS will not process a refund after 180 days.
Pro Tip: Always check your chosen shipping carrier’s policy regarding shipping label expiration. That way, you won’t waste money and ensure your shipping labels stay valid.
That brings us to the end of our guide to making shipping labels for your business.
If you're looking for durable shipping labels for your parcels, remember that Betckey has been creating them since 2008. Our products come in standard and customizable sizes, are compatible with a range of American and European printer models, and only use the best glue, so you can rest easy knowing your parcels will be fully labeled when they arrive at your customer’s door!
That's all from us. In the comments box below, let us know how you get on creating your own shipping labels!
If you want to buy thermal labels or sticker paper, you can check out more on our store
Products Featured In This Blog