
Removable Film Labels
Written by: BernauLena
|
|
Time to read 3 min
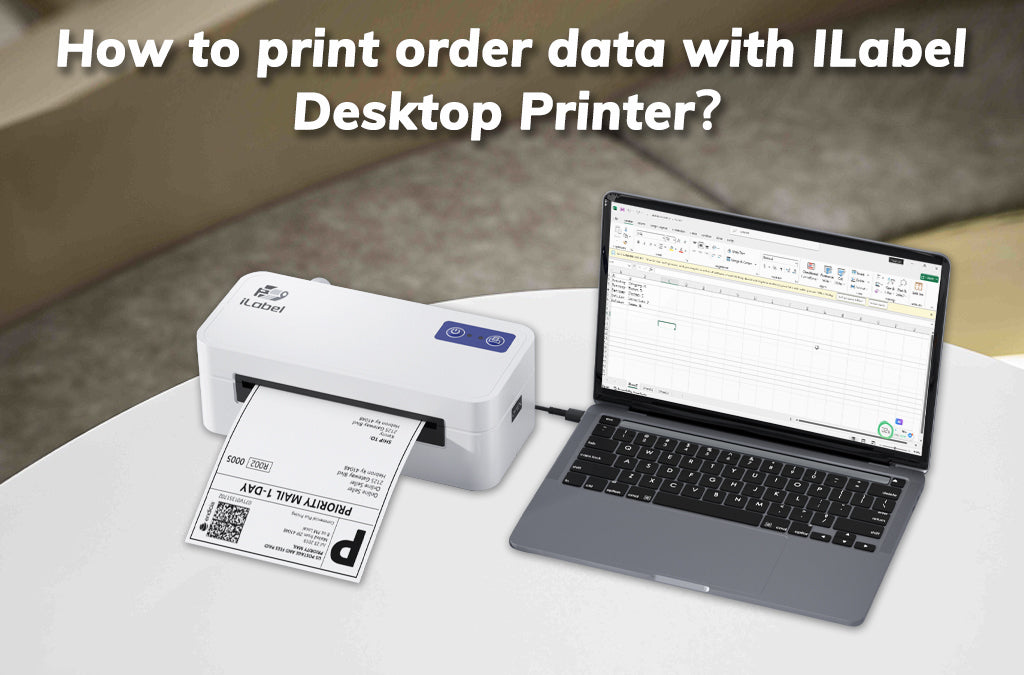
Look, as a retail or e-commerce seller, now you have all these address labels from the order data to print, including name, address, city, state, zip, etc. Entering this data one by one is way too troublesome, so today we will teach you a very simple method to set up Excel for batch printing customer data using the Betckey ILabel printer. A video of the article for a step-by-step walkthrough will be attached at the bottom of the article. Feel free to check it out!
Table of Content
Betckey is dedicated to becoming a one-stop thermal label provider, addressing a wide range of printing needs, from labels to printers. Over the years, Betckey has been focusing on producing thermal labels. Now, after years of development, Betckey finally introduces its first comprehensive printer at competitive prices, filling a gap in our product line. This marks a significant step toward realizing Betckey's one-stop solution vision.
Users of Betckey labels now have a new printer option, which will definitely enhance the compatibility between Betckey labels and label printers. Your concerns about using Betckey labels with other printers will soon be a thing of the past.
1. Open MS Word.
2. Click on Mailings and click on Labels on the toolbar.
3. A property page automatically pops out and click on Options.
4. The Label options page pops out.
5. Click on New label to create your address or shipping label if there is not one created before.
6. The Label details page pops out. Set up the label height and width, number across or down, and other dimensions, and click OK.
7. The page pops back to the Label Options page. Click OK and Cancel.
1. Click the Star Mail Merge and click Labels.
2. The Label options page pops out. Select the label you just set up and click OK.
3. Click Star Mailing Merge and click on Labels.
4. Choose the label you just set up.
5.The label comes onto the screen.
6. To export all the data from your Excel sheet, click Select Recipients and Use an Existing List.
7. The Select data source page pops up. You can select recipients from the Excel you have exported from your system like Shopify.
8. Select Table with the data needed.
9.To emerge the customer data, click on Insert Merge Field and select A.
10. Click Preview Results to check data in the A column of your customer data table.
11. Continue to click Insert Merge Field to add B column on your label.
12. Continue to click Insert Merge Field until all the data needed to merge are added to the label.
13. Change the color, font, size or position of the data as needed.
14. Go back to Mailing and click Check for Errors to see if all the data are properly added.
1. If everything is okay, print the labels.
Note: to avoid label skipping, save the document as PDF.
Click File>Save as>Save the document as PDF
2. Open the PDF you just saved.
3. Click Menu>Print
4. Select the paper size. Click Page Setup and select label size.
5. click Fit to make sure the content of the label is placed on the right position
6. Click Print and we are done!
8. Set up the other dimensions and check for confirmation.
9. Click on Print and we are done!
Lorem ipsum dolor sit amet consectetur adipisicing elit. Illum neque eaque, autem sit soluta, voluptatum libero magnam tempore ullam at harum vel, ad reprehenderit, nemo veniam quas in voluptas hic. Lorem ipsum dolor, sit amet consectetur adipisicing elit. Natus id officia omnis suscipit aut architecto repellat a quia eaque reiciendis blanditiis perferendis hic, nihil, mollitia. Iste velit aperiam, numquam dolorem.
Today’s article mainly talks about how to batch print address labels from the order data from Excel sheet. There are three steps to do so. First, set up or design your address labels on the MS Word. Second, export the data from the Excel sheet and save it as PDF. And at last print the PDF version. Hope this article serves your needs. Good luck!
About Betckey
Betckey Premium Labels is a leading supplier of compatible direct thermal labels, committed to high-quality and eco-friendly products as well as competitive pricing. We offer better products than manufactured original at 70% less price. Now, our Amazon store ranks first in the US, Canada, and Western Europe with thousands of positive ratings. Visit betckey.com and get 10% off purchases over $150 with code Betckey10 and 15% off over $400 with code Betckey15! Sign up now and we'll send you a $5 discount code towards your first purchase. By the way, welcome to follow our official @ Tik Tok and @ Youtube accounts to get Betckey’s latest news!
If you want to buy thermal labels or sticker paper, you can check out more on our store
Product Featured In This Blog

24/7 support team

Multiple Payment Methods

Worry-free shopping

Delivery in 3-7 business days
Be the first to know about label discounts,
product launches, and time-saving tips — subscribe now!
Are you 18 years old or older?
Sorry, the content of this store can't be seen by a younger audience. Come back when you're older.
We use these labels for Amazon UPC and they work fantastic!
We are very happy with the product and value for our small business
Camaj Fiber Arts.com
On time, package labels that are the right price! Thank you
Dymo 30256 Compatible Large Shipping Labels 2-5/16” x 4”
They are exactly what I need, very easy to use!!!
Everithing was really good, fast delivery, product quality 100% guarantee
Very versatile label for mailing addresses and a marketing to promote a product or get someone’s attention.


