
Removable Film Labels
Written by: BernauLena
|
|
Time to read 2 min
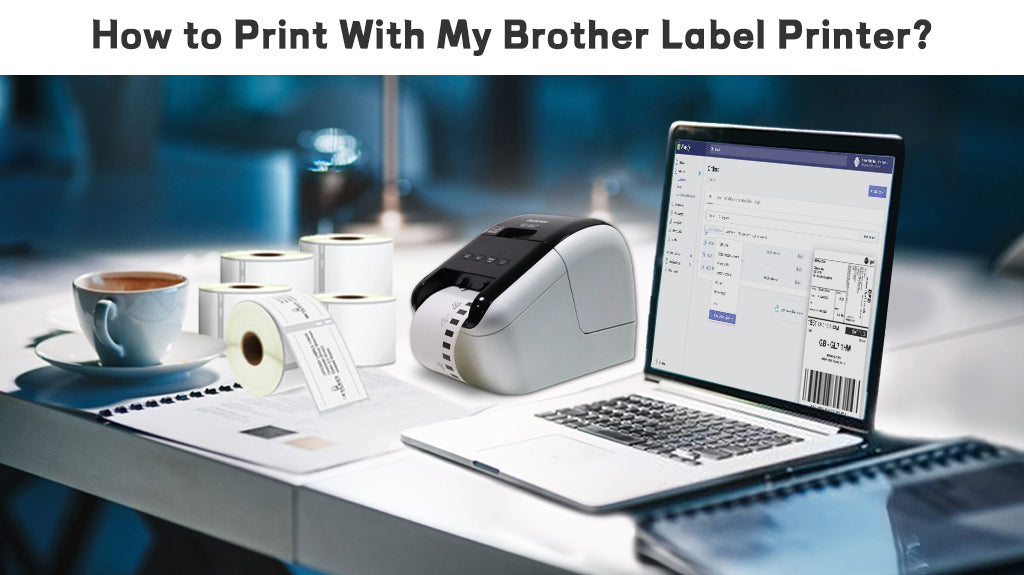
Many people find using a Brother label printer to print labels a bit difficult. The user guide can seem intimidating at first glance. So we organized a simplified version to make the process easier and more approachable. The operations of different Brother models may differ slightly, but the basic functions remain the same. Feel free to continue reading!
Table of Content
Before turning on your Brother label printer, make sure to load the DK roll . For detailed instructions on how to load or change a DK roll, please refer to our previous article. You can find it in the "Related Articles" section at the bottom.
Press the Power Button to turn the Label Printer on. The Status LED turns green.
Click Print button.
First let’s do some basic settings. Double click“New Layout”and drag the edges of the blank layout to adjust the label size or click on “Paper”tool from the toolbar and select proper size for your label. You can also change “Length” and “margins” as well as Label Direction (Vertical/Horizontal) on the same panel.
Now you can start designing your labels:
There are several cutting options for you to choose. If you choose Auto Cut, each label is automatically cut after printing. When the Auto Cut and Half Cut options are selected simultaneously, only the last label will be fully cut after printing. The printer can also be set to cut the labels after a specified number of labels are printed.
Today we talked about common steps about printing labels on your Brother printers both by using a template and designing from scratch. By following the steps outlined, you can efficiently create and print professional-looking labels that meet your specific needs. Thank you for watching!
If you want to buy thermal labels or sticker paper, you can check out more on our store

24/7 support team

Multiple Payment Methods

Worry-free shopping

Delivery in 3-7 business days
Be the first to know about label discounts,
product launches, and time-saving tips — subscribe now!
Are you 18 years old or older?
Sorry, the content of this store can't be seen by a younger audience. Come back when you're older.
We use these labels for Amazon UPC and they work fantastic!
We are very happy with the product and value for our small business
Camaj Fiber Arts.com
On time, package labels that are the right price! Thank you
Dymo 30256 Compatible Large Shipping Labels 2-5/16” x 4”
They are exactly what I need, very easy to use!!!
Everithing was really good, fast delivery, product quality 100% guarantee
Very versatile label for mailing addresses and a marketing to promote a product or get someone’s attention.


