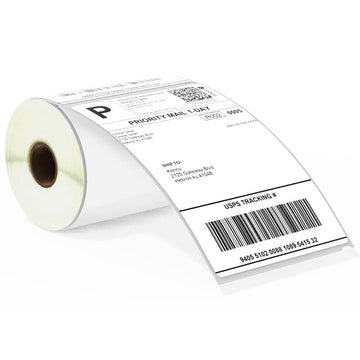
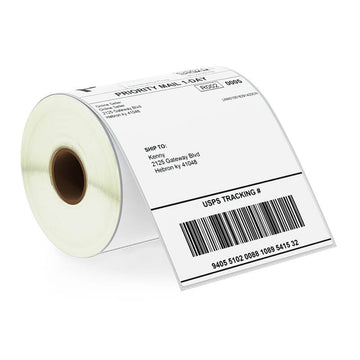
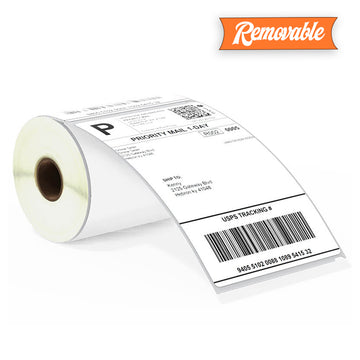
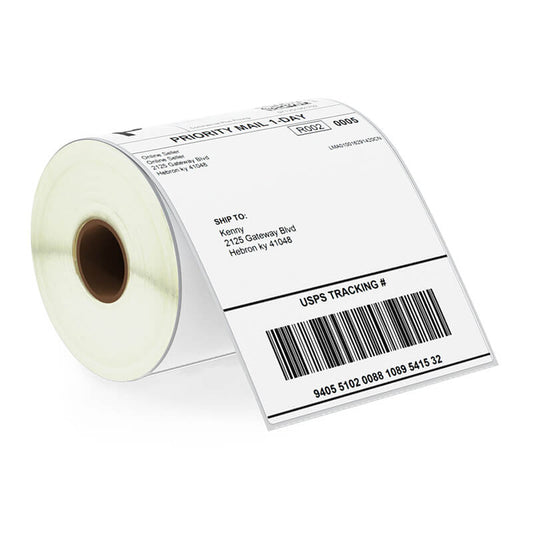
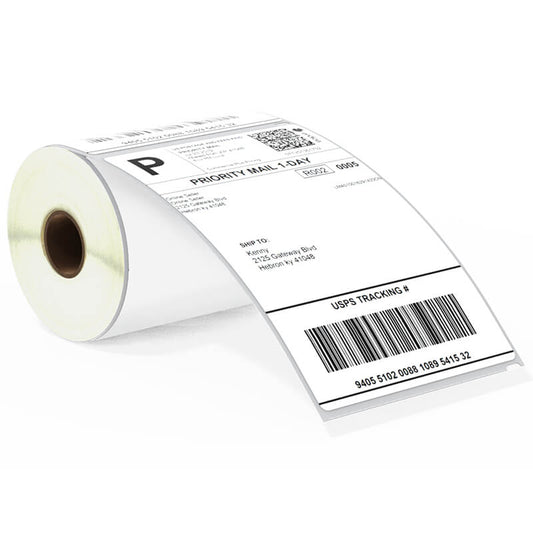
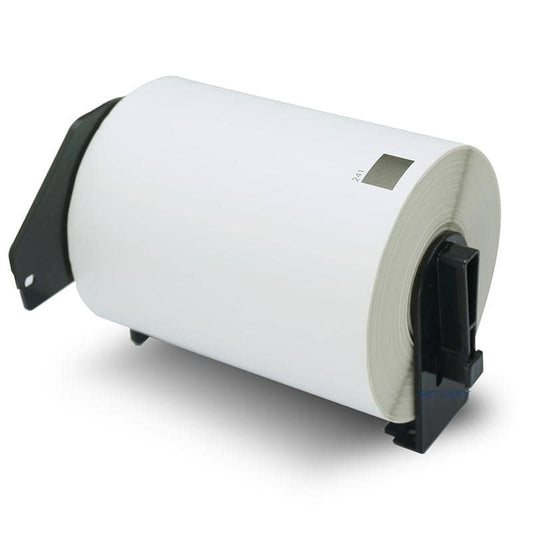
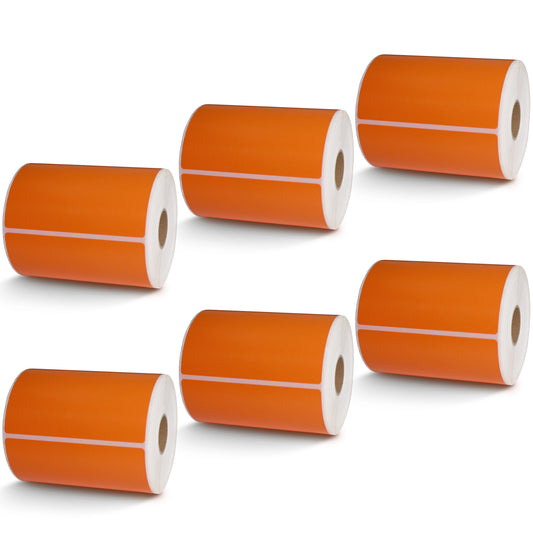
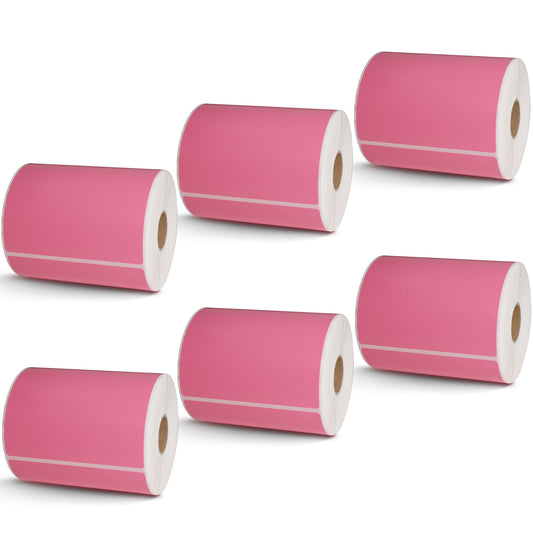
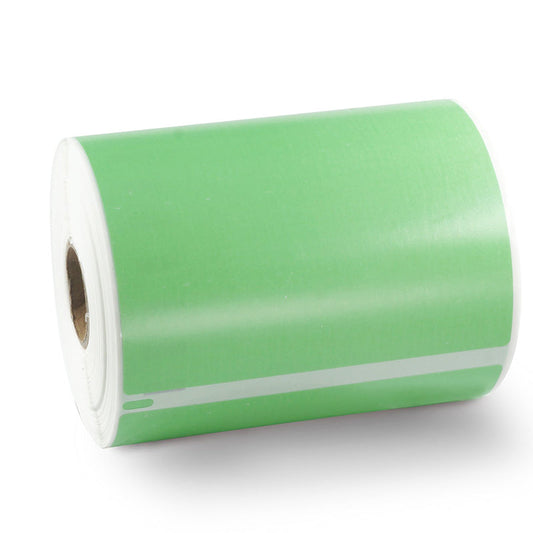
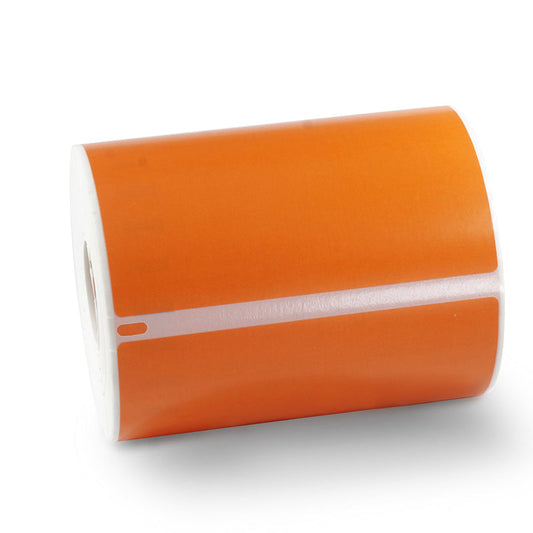
To change your printer settings to 4x6 label size, follow the steps below based on your operating system and printer type (usually thermal):
🖥️ For Windows:
✅ Step 1: Open Printer Settings
Go to Control Panel > Devices and Printers
Right-click your thermal printer (e.g., Rollo, Zebra, Brother) > Printing Preferences
✅ Step 2: Set Paper Size to 4x6
Look for a dropdown menu like Paper Size, Label Size, or Stock
Choose 4" x 6" (or 104 mm x 159 mm)
If it's not available, click Add Custom Size, name it “4x6,” and enter:
Width: 4 inches
Height: 6 inches
Click Apply > OK
🍏 For Mac:
✅ Step 1: Add or Configure Your Printer
Go to System Settings > Printers & Scanners
Select your printer > Options & Supplies > Driver tab
Make sure the correct driver is installed (especially for thermal printers)
✅ Step 2: Create a Custom Paper Size
Open Preview or Word
Go to File > Page Setup
Click Paper Size > Manage Custom Sizes
Add a new size:
Width: 4 inches
Height: 6 inches
Save and select that size
🖨️ For Specific Thermal Printers (like Rollo, Zebra, Brother):
Rollo: Use Rollo Printer Settings App > Choose Paper Size > 4x6
Zebra: Use Zebra Setup Utilities > Select printer > Configure > Set media size
Brother QL series: Use P-touch Editor or QL Utility to select 4x6 (102 mm x 152 mm) labels
✅ Bonus Tip:
After setting it up, test print a label from your shipping platform (e.g., Amazon, Etsy, Pirate Ship) to ensure alignment.

