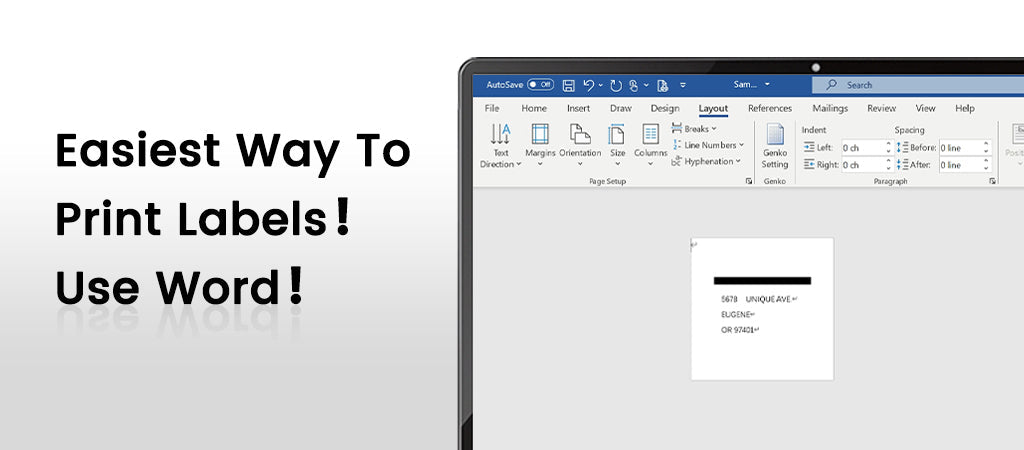
The Easiest Way to Print Labels! Use MS Word Or Excel!
|
|
Time to read 3 min
Written by: BernauLena
|
|
Time to read 3 min
When learning how to use a new printer, the accompanying software like Brother P-touch, Dymo Connect, or Zebra Z Designer can often feel overwhelming. However, if you are printing labels without barcodes—such as address labels, brand logos, or simple designs—MS Word and Excel are straightforward and beginner-friendly options. They are simple, versatile, and doesn't require specialized software.So today, we’ll talk about how to use MS Word and Excel to print simple labels, such as return address labels and brand logos that don’t include barcodes. Also, there is a “Mailing” function in Word that can be used to print labels and we’ll talk about this method in the second part.
Table of Content
Start by opening MS Word and creating a new blank document.
· Go to Layout → Size and select the required size from the dropdown.
· If the preset sizes don’t match your label dimensions:
o Click More Page Sizes → Paper.
o Enter the size of your label manually and click OK.
o (Tip: MS Word uses centimeters by default, but you can type dimensions in inches if needed. Just enter the value followed by “in” (e.g., 2in).)
⚠ Note: If a margin error warning pops up, it’s because small labels like 2” x 2” might exceed the default margin limits. Simply adjust the margins as described in the next step.
To ensure your labels fit:
Now it’s time to get creative!
Insert Shapes:
Add design elements by clicking Insert → Shapes. You can customize the size, placement, and properties as needed.
(Note: Most thermal labels, like those sold by Betckey, can only print in black and white. If you require color, ensure you buy colored labels .)
Insert Text:
Use Insert → Text Box to add content like addresses, product names, or logos. Adjust the size and placement of the text box for a clean and legible layout.
Tip: We recommend using the built-in format. This way, you can move the box and text as a whole, which will be very helpful if you need to change the text without disrupting the already well-designed layout.
You can use the align function to adjust the position of the box. You can align it to the left, right, center, etc., according to your needs. This helps avoid the inaccuracies of manual adjustments.
Click File → Print Preview to see how your labels will look. If everything appears correct, proceed to print your labels.
If you already have label data in an Excel spreadsheet, you can save time by using the Mail Merge feature in MS Word.
1.Select Your Data Source:
Go to Mailings → Select Recipients → Use an Existing List.
Choose your Excel file and click OK.
2.Insert Merge Fields:
Click Insert Merge Field and select the data fields you want to include one by one (e.g., Name, Address).
3.Preview and Adjust:
Click Preview Results to check how the labels will appear with your data.
Make any necessary adjustments to the layout.
4.Print the Labels:
Once satisfied, click File → Print and let MS Word do the rest!
With MS Word, label printing doesn’t have to be complicated. Whether you’re creating simple designs or leveraging data from an Excel sheet, Word offers the tools you need for fast and efficient label creation. Say goodbye to complex printer software and start creating professional-quality labels today!
If you want to buy thermal labels or sticker paper, you can check out more on our store

24/7 support team

Multiple Payment Methods

Worry-free shopping

Delivery in 3-7 business days
Be the first to know about label discounts,
product launches, and time-saving tips — subscribe now!
Are you 18 years old or older?
Sorry, the content of this store can't be seen by a younger audience. Come back when you're older.
Brother DK-2205 Color Continuous Labels 2.4 in x 100 ft
the rolls came in but the box that they were in was complete destroyed and tape up maybe by parcel post and one roll was missing
Brother DK-1241 Compatible Shipping Labels 4" x 6"
Barcode Shipping & Multipurpose Labels 4" x 2"
Always consistent quality with these labels and with Betckey in general. Fast shipping; great prices when ordering in bulk and lots of choices for different colors in addition to the white ones.
These labels are every bit as good as the (Preferred) brand, at a lot less of a price.
Excellent service. I am very happy with the product. Recceived the labels next business day.


