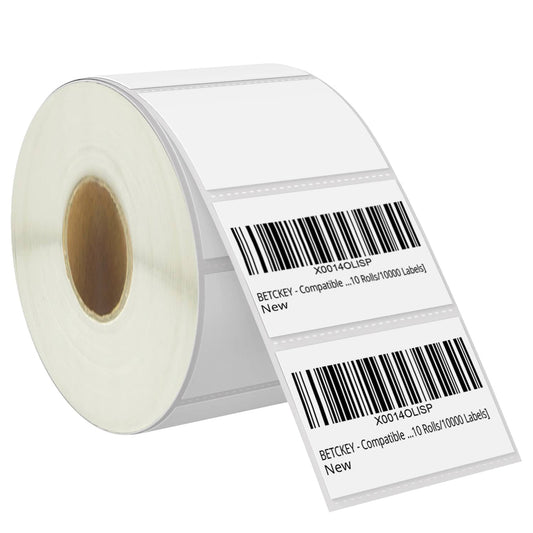
Removable Film Labels

If you need to print address labels, there are a few key considerations you should keep in mind. First and foremost, ensure your label information is arranged correctly, as this will ensure they print in their proper positions.
Be sure to verify that your data file spreadsheet includes accurate headers for every column of your list. These include column-specific headings that describe their purpose.
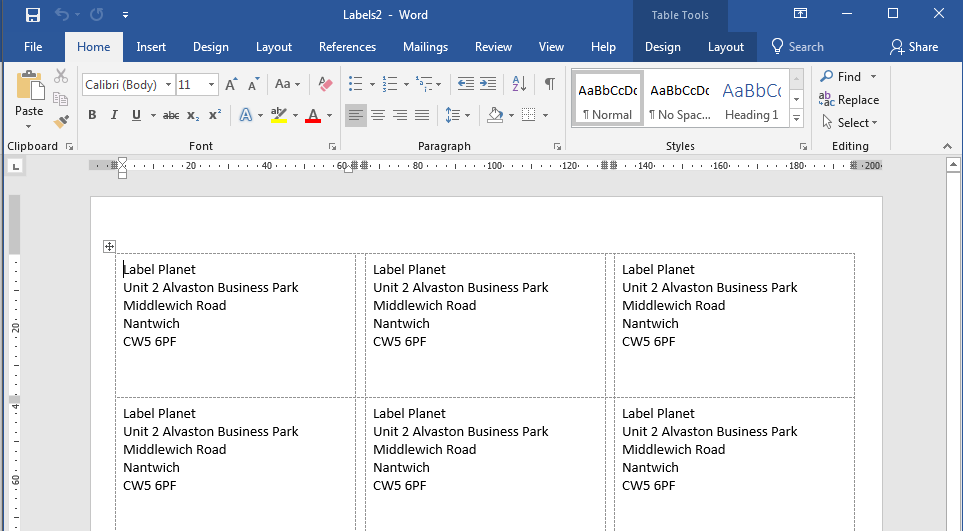
If you need to print address labels from Word, the Labels option within the Envelopes and Labels group offers an efficient solution. This opens a document containing blank labels tailored specifically for your printer model size and brand.
In addition, you can specify whether to include borders or background images; borders can be added to both sides of each label for easy reading purposes; use larger font sizes when adding borders if applicable.
If your computer lacks an appropriate printer, third-party software programs that generate PDF or Microsoft Excel spreadsheet files for printing offer another convenient and efficient method to create address labels without spending hours searching for templates.
One of the easiest and simplest ways to create address labels is with an Excel template, particularly if you already have a list of addresses that need mailing. By printing directly from your computer, this saves both time and energy compared to manual methods of producing labels one at a time.
Word's mail merge feature makes it easy and cost-effective to create address labels from an Excel spreadsheet, while Google Sheets data import allows for import from various sources - making this an excellent solution for mass mailings like newsletters or Christmas cards that save both time and money by printing all the labels at once.
Before using the Mail Merge feature in Excel, it's essential that you properly prepare your Excel file. In order to do so, add fields for every column that will appear on labels; add those fields individually to the Label Options dialog box's Labels area using their relevant label name (if your field contains first and last names, enter them here as Names>> for instance).
Once you've designed your labels, test print a few on regular paper for inspection against label paper to make sure they align properly. When satisfied, load the sheets into your printer and begin printing your address labels.
No matter whether it's for office mailing lists, wedding invitations, or something entirely else, Excel makes creating address labels effortless with its mail merge feature. With it, you can automatically generate and print personalized addresses for every recipient without manual editing.
All that is needed to use it effectively is a spreadsheet with recipient data as well as printer support that can print labels; additionally, a blank label sheet linked to a Word document; once you've merged this information, you can print labels out and affix them securely onto envelopes or packages.
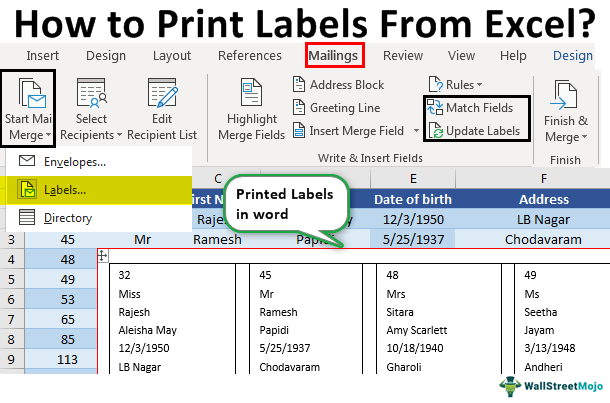
Start creating labels by opening a blank Word document and selecting Insert > Mailings from the Write and Insert group. On this tab, click Address Block Merge Field, which will bring up a dialog box asking you to match fields.
To do this, select your first row from your spreadsheet, then match fields. That way, any matches are inserted directly into the text box in the document, while any others merge seamlessly into the existing text. When finished, click the Update Labels button for an instantaneous label update!
Before printing labels, it's essential to verify your data, particularly to make sure the column headers are set up correctly - these indicate which items will appear on your labels and can be found at the beginning of an Excel data file spreadsheet.
When it's time to print labels, select the Print option in the Mailings tab. A pop-up window will appear with options to print either all or select labels individually. For large printing jobs, it is recommended to opt for "Print All", otherwise printing each individual label could consume time and resources.
Once your labels have been printed, it's advisable to save both the document and Excel data file so as to save time when printing more labels in the future. Also, make sure that a test print runs first on standard paper before printing directly onto label sheets, as this will ensure proper formatting, alignment and printing in the appropriate spots on each sheet.
Printing labels in bulk is a routine task for small businesses and individuals who send multiple packages out each week, but doing it manually can be both time-consuming and laborious. Luckily, there are ways to streamline this process with automation solutions, like using Google Sheets add-ons that automatically print address labels for you.
First, gather all of the address information for every person or business you will be mailing to into a spreadsheet. Next, add columns for all types of information you require for printing labels.
For instance, this may include the name of the recipient, company name, street address, or city and state zip codes as needed - so that when it comes to printing labels, you can arrange information in such a way that works best.
Add-ons" menu of Google Sheets and choose "Create & Print Labels- Avery & Co." Once selected, choose your template from the list before clicking "Use" to open it in the Labelmaker sidebar and use it.
The labelmaker sidebar then creates cells within the spreadsheet that represent individual labels - one cell will contain label text, while you can change its format using the "Add merge field" dropdown menu to select fields to include on labels.
After you have inputted the appropriate information, click "Merge." This will cause the Labelmaker to combine your data with that from a selected template, readying it for printing. Review the results to make sure they're correct before proceeding to print your Avery labels.
Add-ons that allow users to quickly create address labels can make this task far faster and less costly than using expensive services offered by local print shops.
The Mac version of Pages, the word processing program that comes with every Mac, has a simple and straightforward way to print return address labels. You can use a spreadsheet as your label template or create a new document. Pages will automatically convert your spreadsheet into a printable format. You can also download a free add-on to work with Avery labels.
Before printing your labels, set up the page layout according to the label sheets you are using. Search the label package for measurement information, or use a ruler to measure the size of each label.
Then, insert a table into your document and add the desired fields for each label. You may need to adjust the font and text formatting options to fit your needs. Once you’ve finished creating the table, deactivate the gridlines by clicking on them. This will make the labels easier to read and prevent the inadvertent shifting of text on the printed page.
No matter if you're a business owner or bride-to-be, labels should look their best. With so many fonts, colors and text sizes to choose from and logos and other design elements that reinforce the brand or add flair (in case it's something personal), creating stunning address labels is possible!
Custom labels can be easily created using Microsoft Word or Excel word processing programs or by purchasing pre-formatted templates that work with any standard 8.5" x 11" printer. Some label sheet brands provide label-printing software or Word template plug-ins you can install to facilitate label printing; however, this is not necessary since Word provides everything needed for envelope and label sheet printing within its Mailings tab.
Before printing labels for an event, it is crucial that their style matches other pieces you have designed, such as save the dates or invitations. This helps ensure they look professional when printing multiple copies at once for a large scale event.
You should also check their compatibility with your paper by placing a test page from your printer behind label paper and holding both up against light; any misalignments between the test page and labels can easily show through as misprints on labels as well.
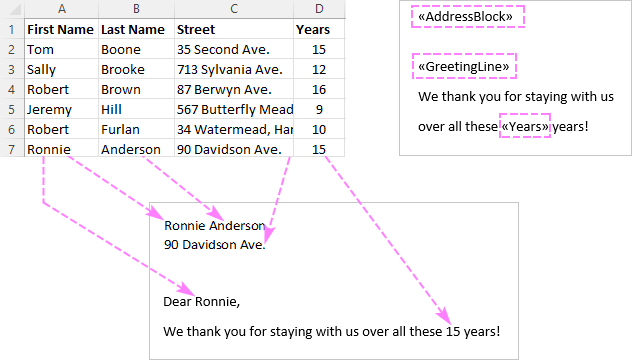
Mail merge lets you create a batch of documents that are personalized for each recipient. For example, a form letter might be personalized to address each recipient by name. A data source, like a list, spreadsheet, or database, is associated with the document.
When creating multiple labels quickly and efficiently, mail merging is the ideal method. Each database entry will be transformed into a Word label with all of your address details ready to print onto blank label sheets.
When you're ready to print, simply click the print button. Before doing so, however, double-check that your label sheet is loaded properly and facing in the correct direction before selecting "Print Preview." Additionally, "Preview Mode" enables you to preview what the labels will look like before they're printed - should anything appear amiss, cancel the job before too many labels have been wasted and try again later on.
To properly format your label list in Excel so it prints correctly onto label sheets, it is necessary to double-check its column headers. These names appear at the beginning of an Excel data file spreadsheet and must match up exactly with those appearing in its first row.
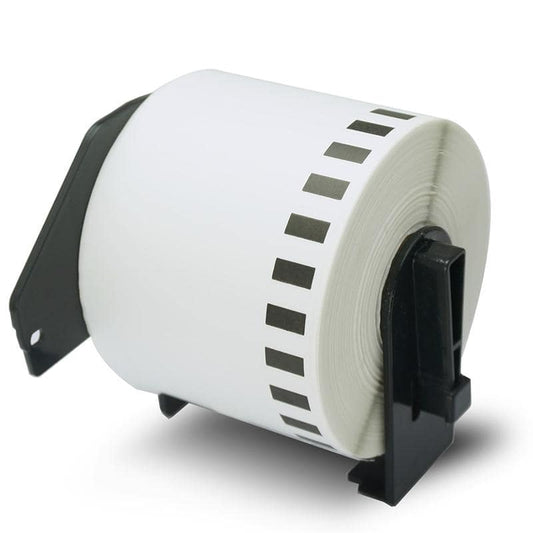
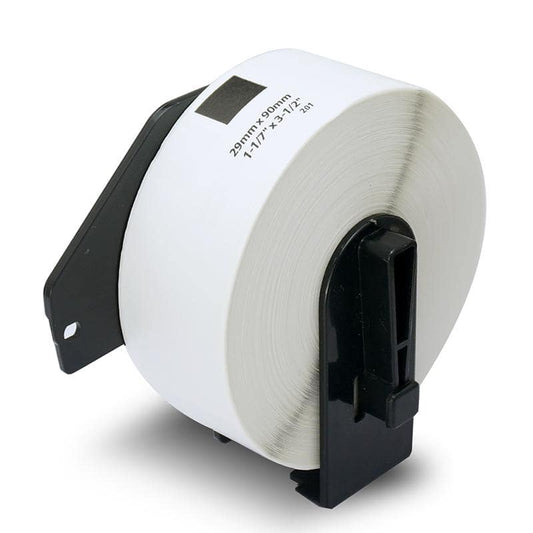
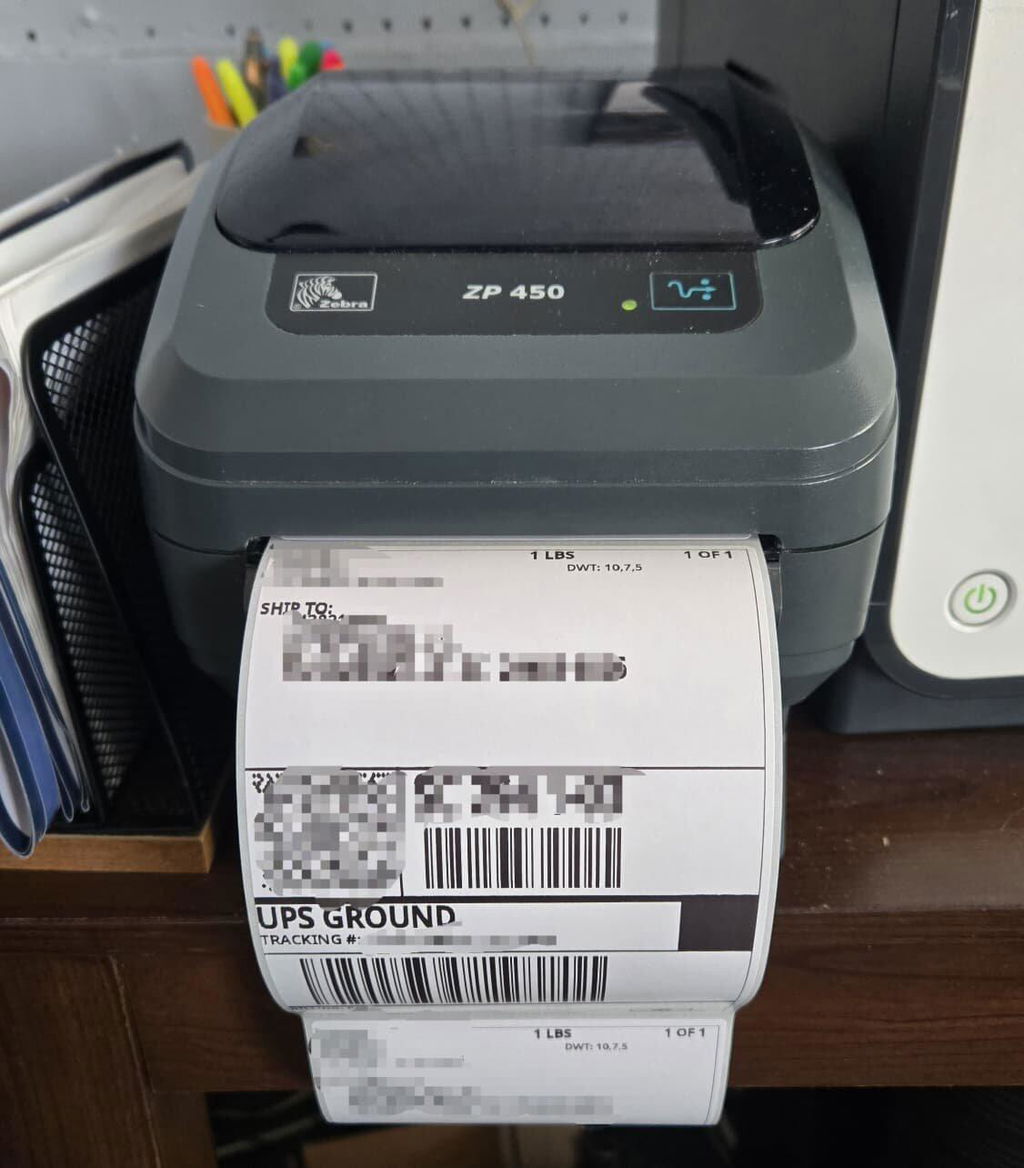
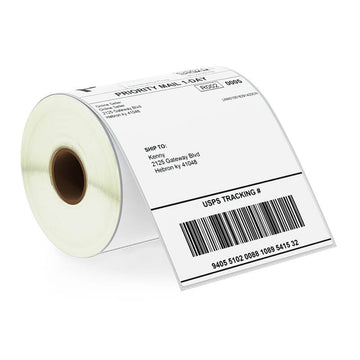
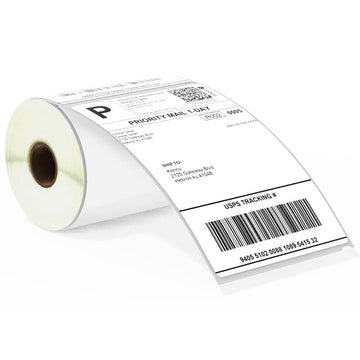
After doing this, you can then load up your labels into your printer and enter your address information into its address box. If using roll labels instead of standard inkjet or thermal transfer desktop label printers for high volume printing, they require dedicated label printers, which can be found at most office supply stores or online companies specializing in this type of printing technology.

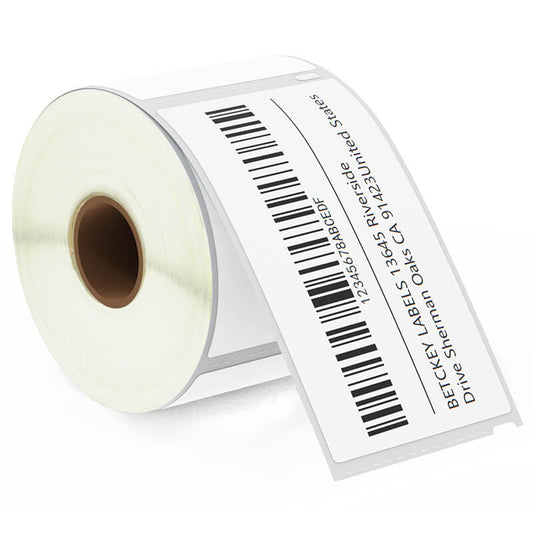
Betckey — Premium Label Solutions for Every Business
About Betckey
Betckey is a trusted provider of high-quality thermal labels designed for eCommerce, logistics, and office operations. We focus on delivering dependable label solutions that are fully compatible with Rollo, Zebra, Dymo, and Brother printers.
Whether you're running a small shop or scaling up a warehouse, Betckey ensures your labeling process is smooth, professional, and cost-effective.
Read more →