How to replace new paper roll on brother DK label cartridges?
|
|
Time to read 4 min


|
|
Time to read 4 min
Ensuring the seamless flow of your business operations, the process of replacing the label roll in your Brother DK label cartridges is a pivotal maintenance task for small business owners and office administrators alike. Betckey offers compatible, reusable DK label rolls for Brother printers, and we are frequently asked by our customers how to replace the paper roll on these cartridges. In this guide, we will equip you with the step-by-step instructions needed to maintain continuous and efficient label printing, ensuring your label printer remains a reliable tool in your business. From powering off the printer to inserting the new roll with precision, let's dive in and learn how you can easily replace your Brother DK label rolls, keeping your business running smoothly.
Table of Content
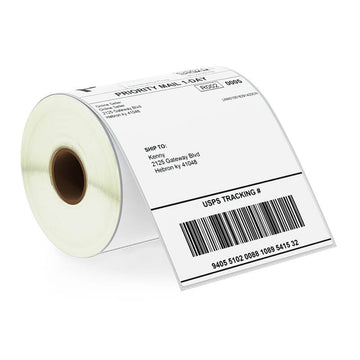
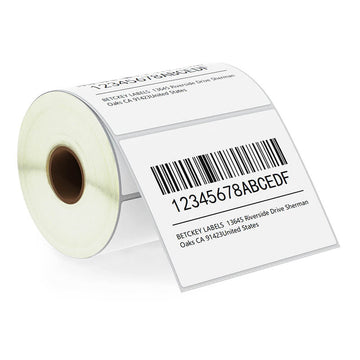
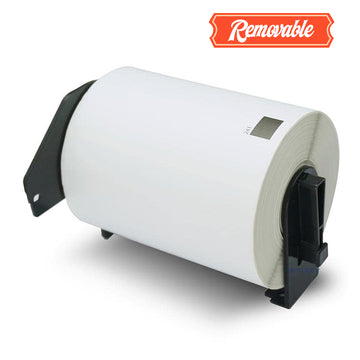
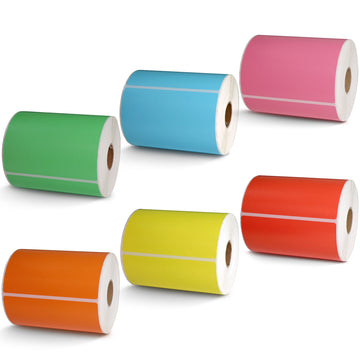
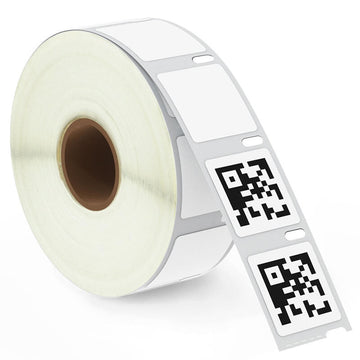
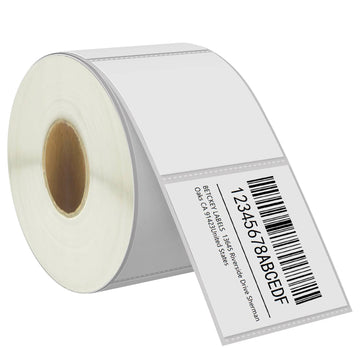
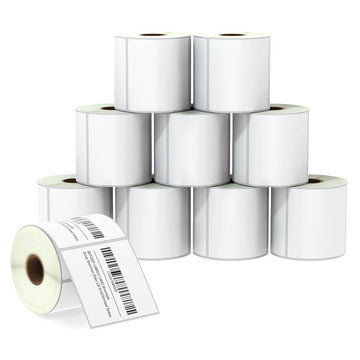
Brother DK labels are the specific label rolls designed for use with Brother QL series thermal printers. They come in various sizes, ranging from 12mm to 103mm wide, to cater to diverse labeling requirements, such as address labels, shipping labels, barcodes, and more.
Changing the label cartridge in your Brother label printer is a simple process that can be done in just a few steps. Follow this guide to ensure a smooth replacement and get back to printing labels in no time.
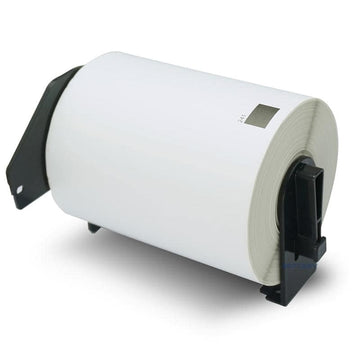
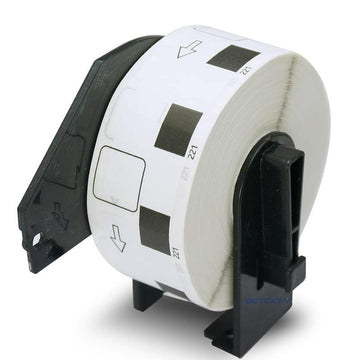
The cartridge/spool holder comprises three parts:
Sensor: It is mounted directly on the printer spool guide.Support Tube: The cylindrical part which holds the label roll and allows for smooth rolling of the label roll.Board: Also holds the label in place, and is secured by inserting it into one of the notches in the printer.
1. To replace an old/ empty roll in a cartridge, simply pry the sensor away from the roll slowly but firmly. It should just then pop out.
2. Once the sensor is detached, the support tube and the board can be disassembled as well.
3. Then pick up the board and see the pin position and put the support tube downward where we can have the hole. Go right over the pin just push it through.
4. To reassemble and install a new label roll, make sure you align the slot on the board to the pin of the support tube. This will prevent the board from moving and will lock the board in place.
5. To lock the sensor, make sure you align the gap in the support tube with the key in the sensor. This should snap in place, without gaps in between the sides of the label roll and the holder.
6. Remember, these cartridges are reusable, but not interchangeable for different sizes of labels. You can check out different sizes of Brother DK Labels at our shop.
7. You can see how the board will go into one of these slots, depending on the label size
8. Close the top cover of the printer.
9. The printer will automatically recognize the new cartridge. You're now ready to start printing with the new label roll!
For a more detailed guide on replacing Brother DK label cartridges, you can refer to this helpful video tutorial. It provides step-by-step instructions and visual demonstrations to make the process even easier.
Setting up your Brother QL-820NWB Label Printer can be a breeze if you follow these helpful tips and guidelines. Whether you're connecting to a network, installing software, or loading labels, we've got you covered.
By following these recommendations and the step-by-step instructions provided, you can confidently replace your Brother DK label cartridge's paper roll and get back to printing high-quality labels for all your needs.
If you want to buy thermal labels or sticker paper, you can check out more on our store
Products Featured In This Blog


Several reviews complain about these not sticking well. I use them on poly mailer bags and they actually stick better than the Brother labels. The print quality looks great. I don't see any downside to these.
Great quality. Definitely worth buying.
Im so glad I found these labels. Theyre perfect for my online store, and the print is always crisp.
These labels work wonderfully with my Rollo printer. No issues, and I will be reordering!
Dymo 30857 Compatible Visitor Name Tag Badge Labels 2-1/4" x 4"
I have purchased labels from Betckey for years now. Fast delivery, good pricing and never had a problem with the labels!
We have used these for the last 2 years, and they are much better than the previous labels we used. They do not fade, or curl, and printing is crisp with no bleed.