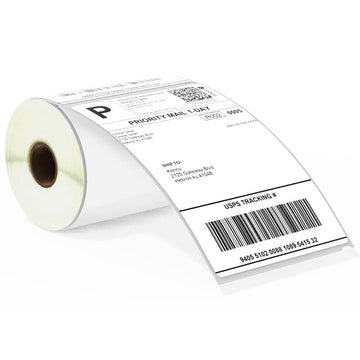
Removable Film Labels
|
|
Time to read 7 min
Dymo LabelWriter range printers are versatile and efficient label printers. They supports a wide range of label sizes and types, making it an essential tool for various labeling needs, from organizing files to shipping packages. In this comprehensive guide, we will explore the label sizes that the Dymo LabelWriter can print, how to change and load labels, compatible label types, printing capabilities for barcodes and QR codes, and more.
Table of Content
We have organized the Max.print width and paper width of each LW range model.
Max. print width refers to the maximum width of the label that the printer can print.
Max.paper width refers to the maximum label width that the printer can feed.
When searching for label rolls that are compatible with your printer, just check the Max.paper width, and label rolls with label width smaller than this value are compatible.
|
Dimension |
Dymo LW 450 |
Dymo LW 450 turbo |
Dymo LW 450 Duo |
Dymo LW 4XL |
Dymo LW 550 |
Dymo LW 550 turbo |
Dymo LW 5XL |
Maximum Print Width |
2.25 in |
2.25 in |
2.25 in |
4.16 in |
2.25 in |
2.25 in |
4.16 in |
Maximum Paper Width |
2.44 in |
2.44 in |
2.44 in |
4.53 in |
2.44 in |
2.44 in |
4.53 in |
Maximum Paper Length |
User Definable |
User Definable |
User Definable |
User Definable |
User Definable |
User Definable |
User Definable |
Print Quality |
300dpi
|
300dpi |
300dpi |
300dpi |
300dpi |
300dpi |
300dpi |
Max. Printing Speed |
53 labels/min |
71labels per minute |
53 labels per minute |
53labels per minute |
62 labels per minute |
40 labels per minute |
53 labels per minute |
RFID required |
No |
No |
No |
No |
Yes |
Yes |
Yes |
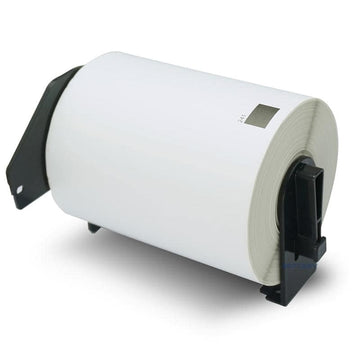
Changing labels in the Dymo LabelWriter 450 is a straightforward process. Follow these steps to replace the label roll in your printer:
Power Off the Printer : Before changing the labels, ensure that the printer is turned off. This will prevent any issues during the label change process.
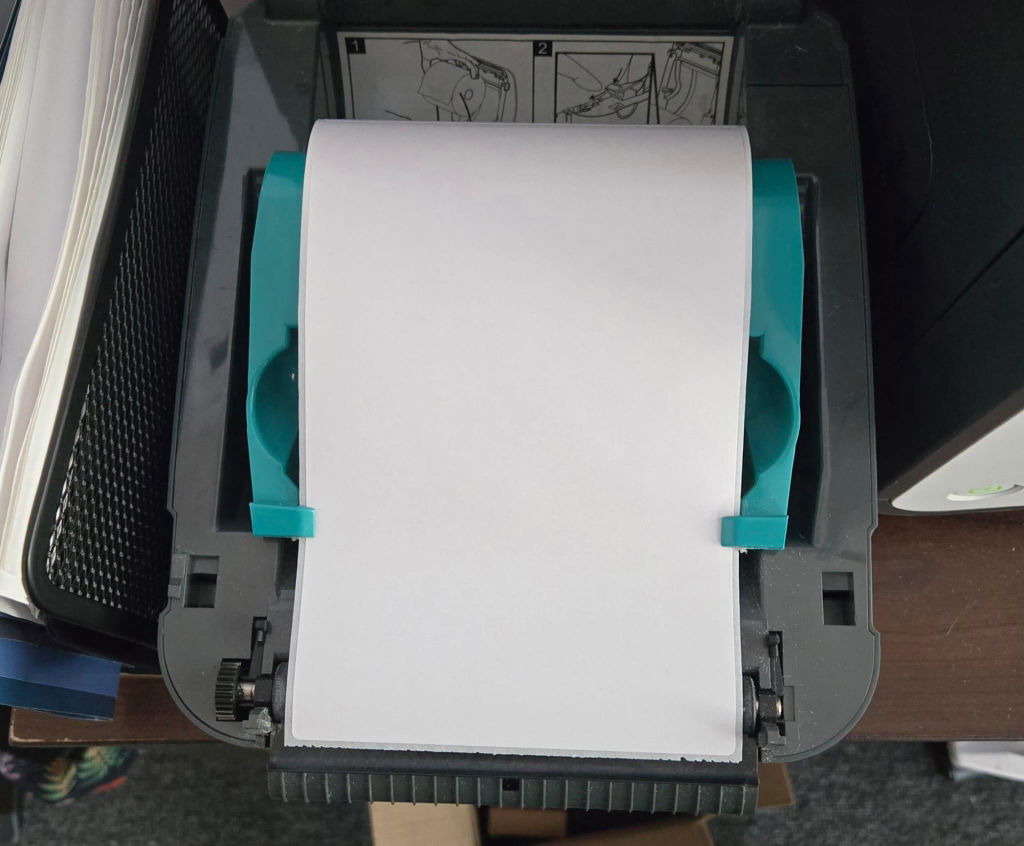
Open the Top Cover : Gently lift the top cover of the LabelWriter 450 to access the label compartment.
Remove the Existing Label Roll : If there is a label roll already in the printer, remove it by lifting it out of the compartment. Make sure to discard any labels that are no longer usable.
Place the New Label Roll on the Spool : Insert the new label roll onto the spool. Ensure that the labels feed from the bottom and that the printing side is facing outward.
Adjust the Spool Guides : Move the spool guides to fit the width of the label roll. This will keep the roll secure and prevent it from moving during printing.
Feed the Labels Through the Printer : Gently pull the labels so that they feed through the label guide at the front of the printer. Ensure that the labels are aligned properly to prevent misfeeds.
Close the Top Cover : Once the labels are in place, close the top cover of the printer securely.
Power On the Printer : Turn the printer back on and perform a test print to ensure that the labels are loaded correctly and feeding smoothly.
By following these steps, you can quickly and easily change the labels in your Dymo LabelWriter 450, minimizing downtime and ensuring consistent label printing.
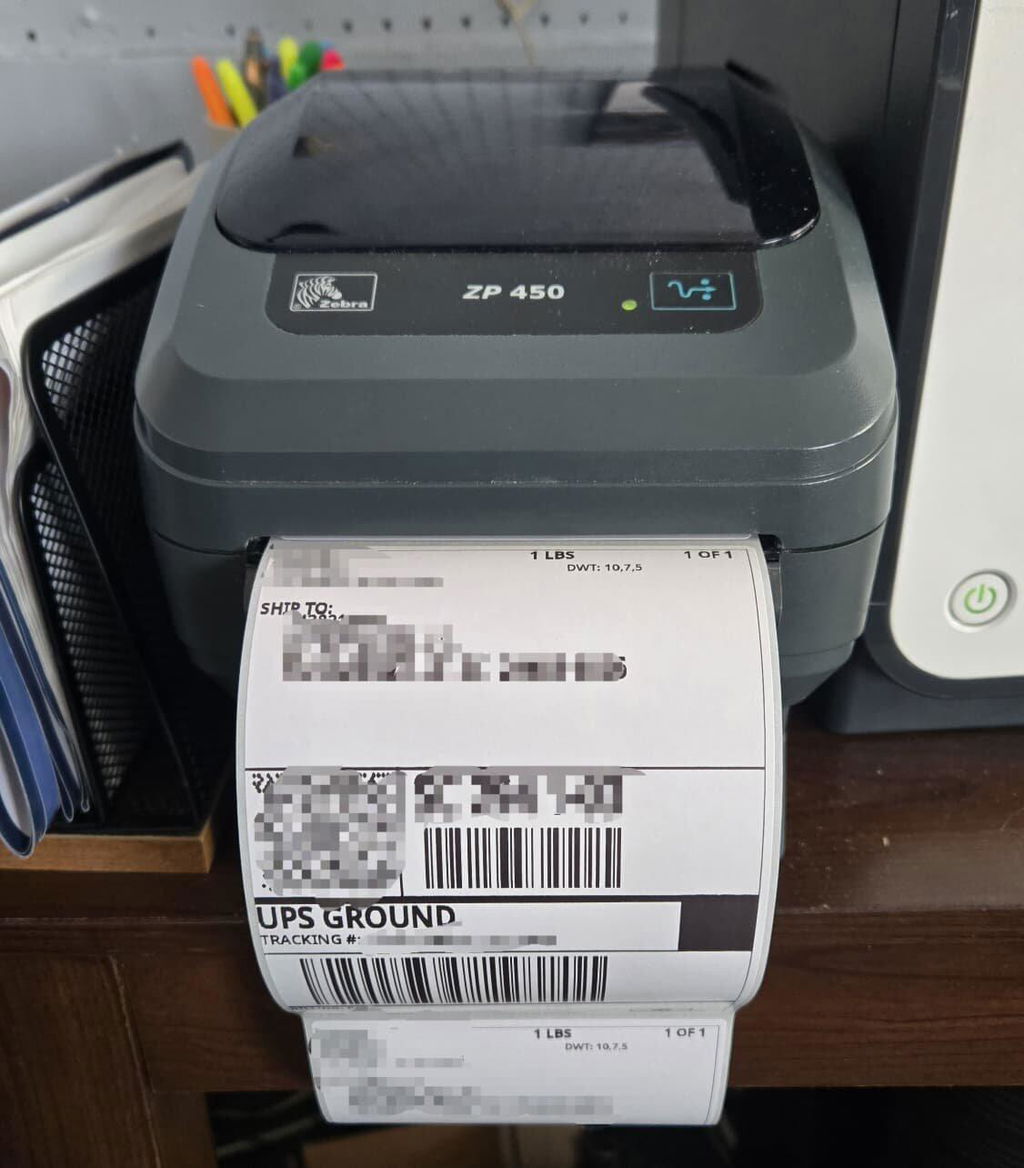
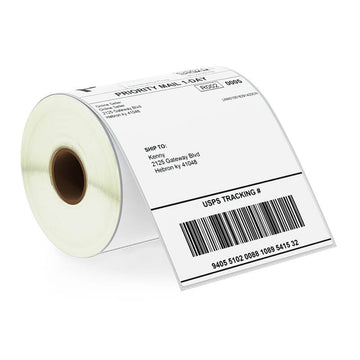
The Dymo LabelWriter 450 is compatible with a wide range of label types designed for various applications. Here are some of the label types you can use with this printer:
Direct Thermal Labels : The Dymo LabelWriter 450 uses direct thermal printing technology, meaning it does not require ink or toner. Direct thermal labels are specially designed for this technology, ensuring high-quality, smudge-free prints.
Dymo Branded Labels : The printer is compatible with official Dymo labels, which are specifically designed for optimal performance with Dymo printers.
Third-Party Labels : Yes, it is compatible with third-party labels, Betckey is the best solution to reduce your label printing costs.
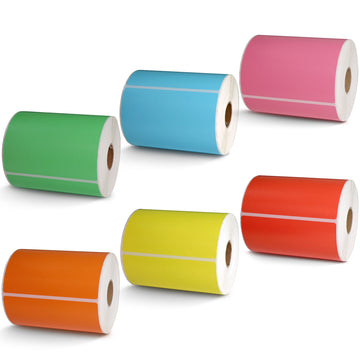
Specialty Labels : In addition to standard address and shipping labels, the Dymo LabelWriter 450 can print on specialty labels such as file folder labels, name badges, and multi-purpose labels.
Note: Dymo 5XL, 550 and 550 Turbo are not compatible with third party labels. Go with Dymo branded labels if have one of these labels.
Loading labels into the Dymo LabelWriter printer is a simple process, and proper loading ensures smooth operation and prevents printing issues. Here's a step-by-step guide to loading labels into your printer:
Turn Off the Printer : Ensure the printer is powered off before loading new labels.
Open the Printer's Top Cover : Lift the top cover to access the label compartment.
Remove the Old Label Roll : If a label roll is currently in the printer, remove it by lifting it out.
Prepare the New Label Roll : Place the new label roll on the spool, ensuring the labels feed from the bottom and the printing side is facing outward.
Adjust the Spool Guides : Slide the spool guides to fit snugly against the edges of the label roll, keeping it secure.
Feed the Labels Through the Guide : Gently pull the labels through the label guide at the front of the printer, ensuring proper alignment.
Close the Top Cover : Securely close the printer's top cover once the labels are in place.
Turn On the Printer : Power the printer back on and conduct a test print to confirm the labels are correctly loaded.
By following these steps, you can ensure that your Dymo LabelWriter is ready to print labels efficiently, reducing the risk of printing errors.
The Dymo LabelWriter printers are primarily designed to print on standard label sizes offered by Dymo. However, it can accommodate custom-sized labels within its maximum width as long as they are compatible with the direct thermal printing technology.
To print custom-sized labels, users can utilize the Dymo Label software, which allows for label customization. The software enables users to create labels with specific dimensions, text, graphics, and barcodes, providing flexibility in label design.
While the Dymo LabelWriter 450 can print custom-sized labels, it is essential to ensure that the custom labels are compatible with the printer's specifications and that they are loaded correctly to prevent misalignment or printing errors.
If you want to buy thermal labels or sticker paper, you can check out more on our store
Products Featured In This Blog
Dymo LabelWriter printers support direct thermal labels, including address labels, shipping labels, barcode labels, name badges, and file folder labels. These printers do not require ink or toner, so only thermal-sensitive labels should be used.
Yes, many third-party brands offer compatible labels that work well with Dymo LabelWriter printers. However, it’s important to choose high-quality options with accurate sizing and strong adhesives. Poor-quality labels may cause jamming, misfeeds, or poor print quality.
You can purchase bulk-compatible labels through trusted third-party vendors such as Betckey, LabelValue, or on platforms like Amazon. For best deals and business pricing, contact the supplier directly through their website or request a wholesale quote.
Regularly clean the print head and rollers using a soft, lint-free cloth and isopropyl alcohol to ensure optimal print quality and prevent jams.
DYMO 550 Series Printers boast “unique features”: the increased print speed, a new software, the functionality to count the labels on your roll, and a few other trivial features. But it requires you to use DYMO's proprietary brand of labels to operate.
If the DYMO Brand labels were competitively priced, reliably supplied, and carried the variety of options that every business needs, then that would be fine. However, chances are you are reading this article because you know that their labels are not competitively priced, can be unreliable, and are limited to just a handful of sizes, shapes, colors, and materials.
If your business uses a custom, pre-printed DYMO label with your logo, watermark, or other information, forget it. Even if it's a standard size the new 550 Series printer and software will not allow you to print on it unless it comes out of a green box from DYMO.
Is the Dymo 450 discontinued? Yes it is. But the Dymo 450 4XL label printer is still available. Thankfully, DYMO has not completely taken its full line of popular 450 series label printers off the market. They plan to continue manufacturing and supplying the DYMO 4XL LabelWriter, which prints labels up to 4" wide, the 450 Twin Turbo, and the LabelWriter Wireless label printers.
Each of these printers still allows for generic labels to be printed with them, meaning your custom Dymo labels or better value Dymo labels will still work in them. Currently, only the 4XL label printer is in stock, however, there are plans to have the 450 Twin Turbo and the LabelWriter Wireless printers in stock by the end of 2022.
So if you are in need of a new DYMO printer, and want to continue to save on generic Dymo labels or have a specialty product that you prefer to use, the Dymo LabelWriter 4XL is the best alternative to the DYMO 550 Series Printers. The main advantage today is that you can purchase compatible dymo labels that are about 40% cheaper than the Dymo 550 labels. This will save you lots of money in the long run.