Removable Film Labels
|
|
Time to read 10 min
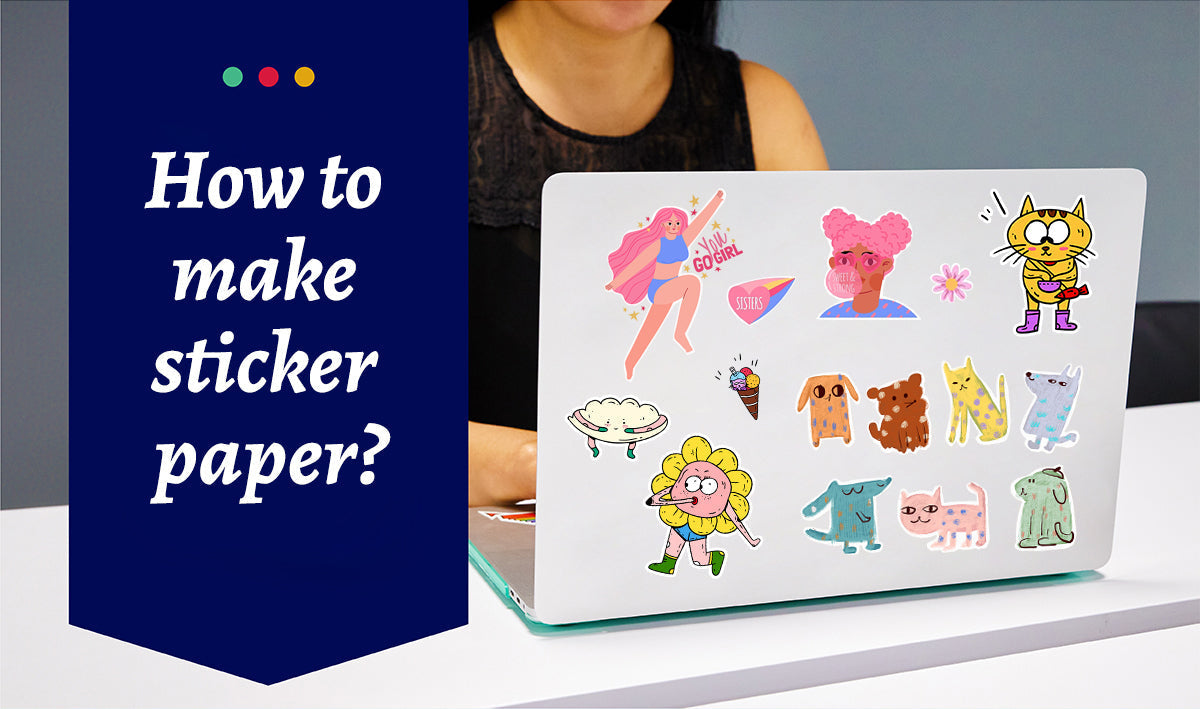
To make sticker paper at home, start by selecting high-quality sticker paper suitable for your printer type (inkjet or laser) and desired finish (glossy or matte). Begin by designing your stickers using graphic design software like Adobe Illustrator or free alternatives such as GIMP. Ensure your designs are correctly formatted for print. Load the sticker paper into your printer and adjust the print settings according to the paper type. Print your designs, allowing them to dry thoroughly. For added durability, consider laminating the printed sheets using laminating sheets to protect against water and UV damage. Finally, use a craft knife, scissors, or a cutting machine to cut out your stickers accurately.
Table of Content
Inkjet and laser printers can both print on sticker paper , provided they are compatible with the specific type of sticker paper used.
Inkjet Printers : These printers are highly versatile and ideal for printing on sticker paper, especially when vibrant colors and detailed images are required. Inkjet-compatible sticker paper is designed to absorb the ink properly, preventing smudging and ensuring high-quality prints.
Laser Printers : These printers use toner and heat to produce prints, making them suitable for high-volume sticker printing. Laser-compatible sticker paper must withstand the heat without melting or causing jams. Laser printers are excellent for producing sharp text and graphics on stickers.
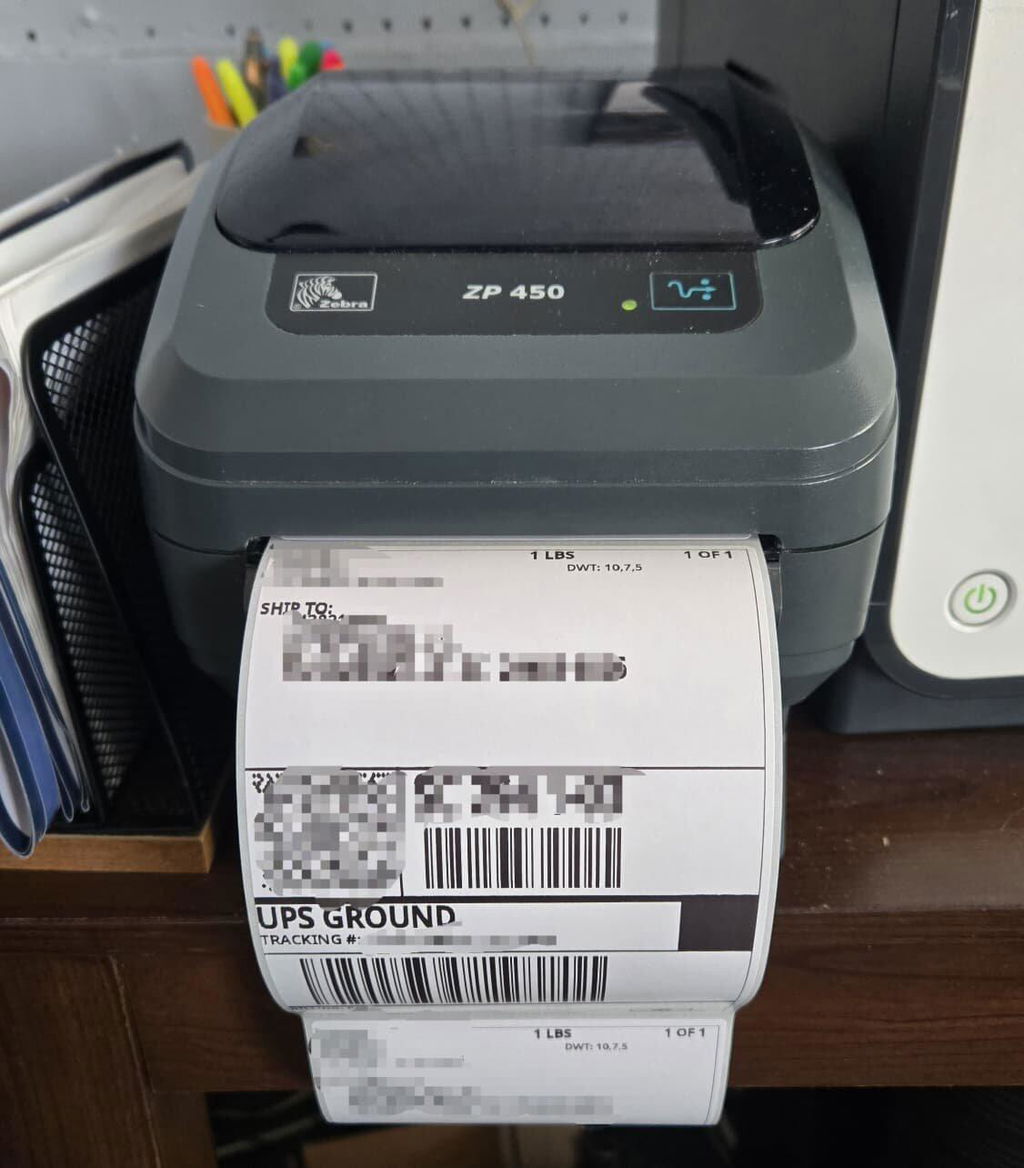
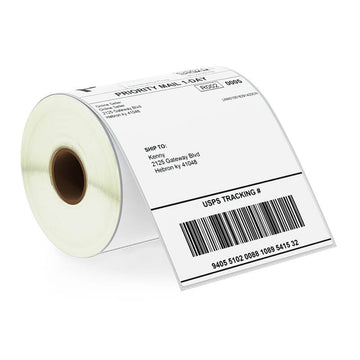
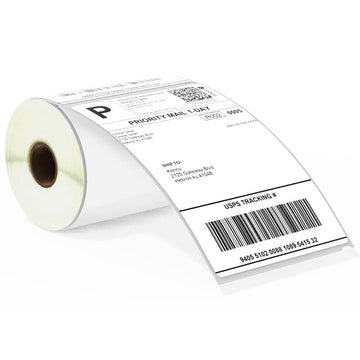
Dedicated Label Printers : For frequent or specialized sticker printing, dedicated label printers such as those from Dymo, Zebra, and Brother are ideal. These printers are designed to handle various adhesive materials and provide professional-quality labels.
Before printing, always check the printer's specifications and ensure that the sticker paper is compatible with your printer type to achieve the best results.
To create custom sticker paper at home, you'll need the following materials:
Sticker Paper: Choose the type based on your printer (inkjet or laser) and your desired finish (glossy, matte, or transparent).
Printer: An inkjet or laser printer, depending on the type of sticker paper you’re using.
Design Software: Software like Adobe Illustrator, Photoshop, or free alternatives like GIMP to create and format your sticker designs.
Laminating Sheets (Optional): For added durability and protection against water and UV damage, you can use laminating sheets.
Cutting Tools: Scissors, a craft knife, or a cutting machine (like a Cricut or Silhouette) for precise cutting of your stickers.
Adhesive (Optional): If you're making stickers from regular paper, you may need adhesive spray or double-sided tape to apply to the back of your designs.
Ruler and Cutting Mat: For accurate cutting and to protect your work surface.
Ink: Appropriate ink cartridges or toner for your printer, depending on its type.
These materials will help you design, print, and cut custom stickers at home.
Some people may come across two different types of stickers: printable vinyl and sticker paper. They look similar, so it's easy to mix them up. Go on to read if you have question about this.
Printable vinyl and sticker paper differ primarily in material composition and durability. Printable vinyl is made from a flexible plastic (typically PVC)。 It's glossy, highly durable, water-resistant, and UV-resistant, making it suitable for both indoor and outdoor use. What's more, it is much more difficult to tear than sticker paper.
It can withstand harsh conditions and is ideal for long-term applications like car decals, outdoor signage, and high-traffic areas.
Sticker paper, on the other hand, is made from paper with an adhesive backing. It is less durable, prone to tearing, water damage, and fading, making it best suited for indoor, temporary, or craft projects such as scrapbooking, planner stickers, and office labels. Both materials can be printed using inkjet or laser printers and cut with scissors or cutting machines, but printable vinyl offers greater longevity and resistance to environmental factors compared to sticker paper.
To design and print your own sticker sheets using DIY methods, follow these steps:
1.Create Your Design: Use graphic design software like Adobe Illustrator, Photoshop, or free tools such as Canva and GIMP to create your sticker designs. Make sure your designs are sized correctly for your sticker paper and arranged efficiently on a digital sheet layout.
2.Prepare the Printer: Choose the right type of sticker paper for your printer (inkjet or laser) and ensure it’s compatible with your design software. Load the sticker paper into your printer following the manufacturer’s instructions.
3.Print Your Design: Set your printer to the highest quality print settings to achieve the best results. Print a test page on regular paper to check alignment and color accuracy before printing on the sticker paper.
4.Laminate (Optional): If you want to add durability and protection, apply a laminating sheet over the printed stickers. This step helps shield the stickers from water, UV rays, and wear and tear.
5.Cut the Stickers: After printing (and laminating, if applicable), cut out your stickers using scissors, a craft knife, or a cutting machine for precision. If using a cutting machine, load your design into the machine’s software and follow its instructions for cutting.
6.Test and Adjust: Test your stickers for adhesion and durability. Make any necessary adjustments to your design or printing process for future sheets based on your results.
Go to: https://www.avery.com/templates
Type Template Number (Eg. 8293) and Select
Click “START DESIGNING”→Sign up / Log in→Customize your own design→Edit All / Edit One
“Preview & Print”→“Print it Yourself” → “Get PDF to Print” →“Save” /“Don’t Save”→“download the PDF”
Go to: https://www.avery.com/templates
Type Template Number (Eg. 8293) and select

Canva has lots of things you can use, like text, pictures, and drawings. Before you begin changing things, get to know the toolbar on the left side. It has all these elements. The top menu bar helps you make more changes to your design.

Go to: https://www.avery.com/templates
Type Template Number (Eg. 8293) and select
Click that red button “START DESIGNING”
Login. Sign up first if you don’t have an account yet.
Once you Log in / sign up, you are able to customize your own design.
When customization finished, choose "Edit All" or "Edit One", then click “Preview & Print”.
Click “Print it Yourself”
Then click “Get PDF to Print” first and click “Save” or “Don’t Save” as you wish.
Click “download the PDF” and you can print the PDF file now.

When you're happy with your label, click the "Share" button at the top right, and pick "Download." Choose the kind of file you want (like PNG, JPEG, PDF), and decide how clear you want it (resolution). If you plan to print it, I suggest picking "PDF Print."

To ensure your homemade stickers are well-cut and prepared for use, follow these best practices:
1.Use Proper Cutting Tools: Invest in a sharp craft knife, precision scissors, or a cutting machine like a Cricut or Silhouette. For uniform cuts, especially with intricate designs, a cutting machine offers the most accuracy and efficiency.
2.Prepare a Cutting Surface: Use a cutting mat or a dedicated cutting surface to protect your workspace and ensure clean cuts. If using a craft knife, a self-healing cutting mat is ideal.
3.Align Your Design: Ensure your design is correctly aligned on the sticker paper before cutting. Use grid lines or alignment tools if available to maintain consistency.
4.Test Cuts: If using a cutting machine, run a test cut on a small portion of the sticker sheet to check the depth and precision. Adjust settings if needed to achieve clean cuts without damaging the backing paper.
5.Remove Stickers Carefully: Peel off the stickers gently from the backing paper to avoid tearing or bending. For intricate designs, use a pair of tweezers or a weeding tool to assist in removing small details.
6.Store Properly: Store your stickers in a cool, dry place to prevent them from becoming damaged or losing their adhesive properties. Keep them flat and away from direct sunlight or moisture.
7.Check Adhesion: Before applying, test the adhesive on a small surface to ensure it sticks well and does not peel off easily. If you encounter issues, consider adding a layer of clear adhesive or a top coat to enhance stickiness.
1.Is it easy to cut with scissors?
Yes, of course. It’s very easy to cut the sticker paper with scissors.
Check this video for a more straightforward look.
2.Can I write/draw on it with pens or pencils?
Yes, you can write on all our sticker paper products. One major difference between labels and sticker paper is that you can write on sticker paper, but not on most labels. This makes it convenient if you need to add any notes or drawings.
3.Can I design on Canvas online and print it?
Yes. You can create designs on Canva , save your design, and then print it using an inkjet or laser printer.
4.Can I use sticker paper in a copier?
Yes, you can generally use sticker paper in a copier, but keep these things in mind:
(1) Copier Type: Most laser and inkjet copiers work with sticker paper, but thermal copiers do not because sticker paper is made for laser and inkjet printers.
(2) Paper Size: Ensure the sticker paper fits your copier’s paper tray.
(3) Material: The type of sticker paper affects print quality. For inkjet printers, select the right paper (like glossy or matte). For laser printers, make sure the settings are adjusted for thicker paper.
(4) Adjust Settings: Change the copier’s settings to match the weight and thickness of the sticker paper.
(5) Test First: It’s a good idea to do a small test print to avoid wasting paper.
5. Can I use sticker paper for photos?
Yes, you can use sticker paper to print photos, but the quality may not be as sharp and vibrant as with dedicated photo paper. Photo paper is designed specifically for photos, with a better texture, thickness, and gloss. For high-quality prints, it’s recommended to use photo paper and the appropriate printer. But if you need sticker paper for photos, it is possible.
6.Is these sticker paper easy to remove from glass (e.g., car windows)?
No, it's not easy to do so. Betckey sticker paper uses permanent adhesive. Once you stick it on to a surface, it will be hard to take it off. But When you first apply it, the adhesive hasn’t fully set yet, so you might be able to peel it off.
7.Can I reposition the sticker paper?
No. Like the question above, Betckey sticker paper uses permanent adhesive, so it will be hard to remove. If you try, the sticker paper may get damaged. Even if you succeed, the adhesive may weaken.
8.Are these stickers heat proof? Could I use them as a sticker label for jar candles?
Yes, Betckey sticker paper uses high quality adhesive and paper material, so they can withstand heat up to 158 °F. and are safe to put on jar candles. We recommend Betckey 8.5" x 11" Glossy Printable Vinyl Sticker Paper and 8.5" x 11" Matte Vinyl Sticker Papers . They are made of vinyl, so they are more resistant to oil, water and temperature.
9.Does this sticker paper work with hp envy inspire 7900e series?
Yes, the size of Betckey sticker paper is up to 8.5 inX11 in which supports inject/laser printing, and the hp envy inspire 7900e series inject printers support paper size up to 8.5 inX14 in. So they are compatible.
10.Does this paper work with ecotank printers?
Yes, Betckey sticker paper works with Ecotank printers . Ecotank printers support letter (8.5 inX11 in) and Legal (8.5 inX14 in) printing, so they are totally compatible.
If you want to buy thermal labels or sticker paper, you can check out more on our store
Products Featured In This Blog
Yes, you can use Betckey matte printable sticker paper with your Cricut Maker.
Yes, a normal home or office printer, whether it's an inkjet or laser printer, can print on sticker paper.
Absolutely! Sticker paper can be an excellent solution for creating labels for various purposes. Whether you're organizing files and folders, pricing products, or designing custom address labels, sticker paper provides flexibility and ease of use.
Absolutely, you can write on sticker paper!Whether you’re adding a personal touch to your planner, labeling jars in your pantry, or creating custom gift tags, writing on sticker paper is not only possible but also a great way to enhance your projects.